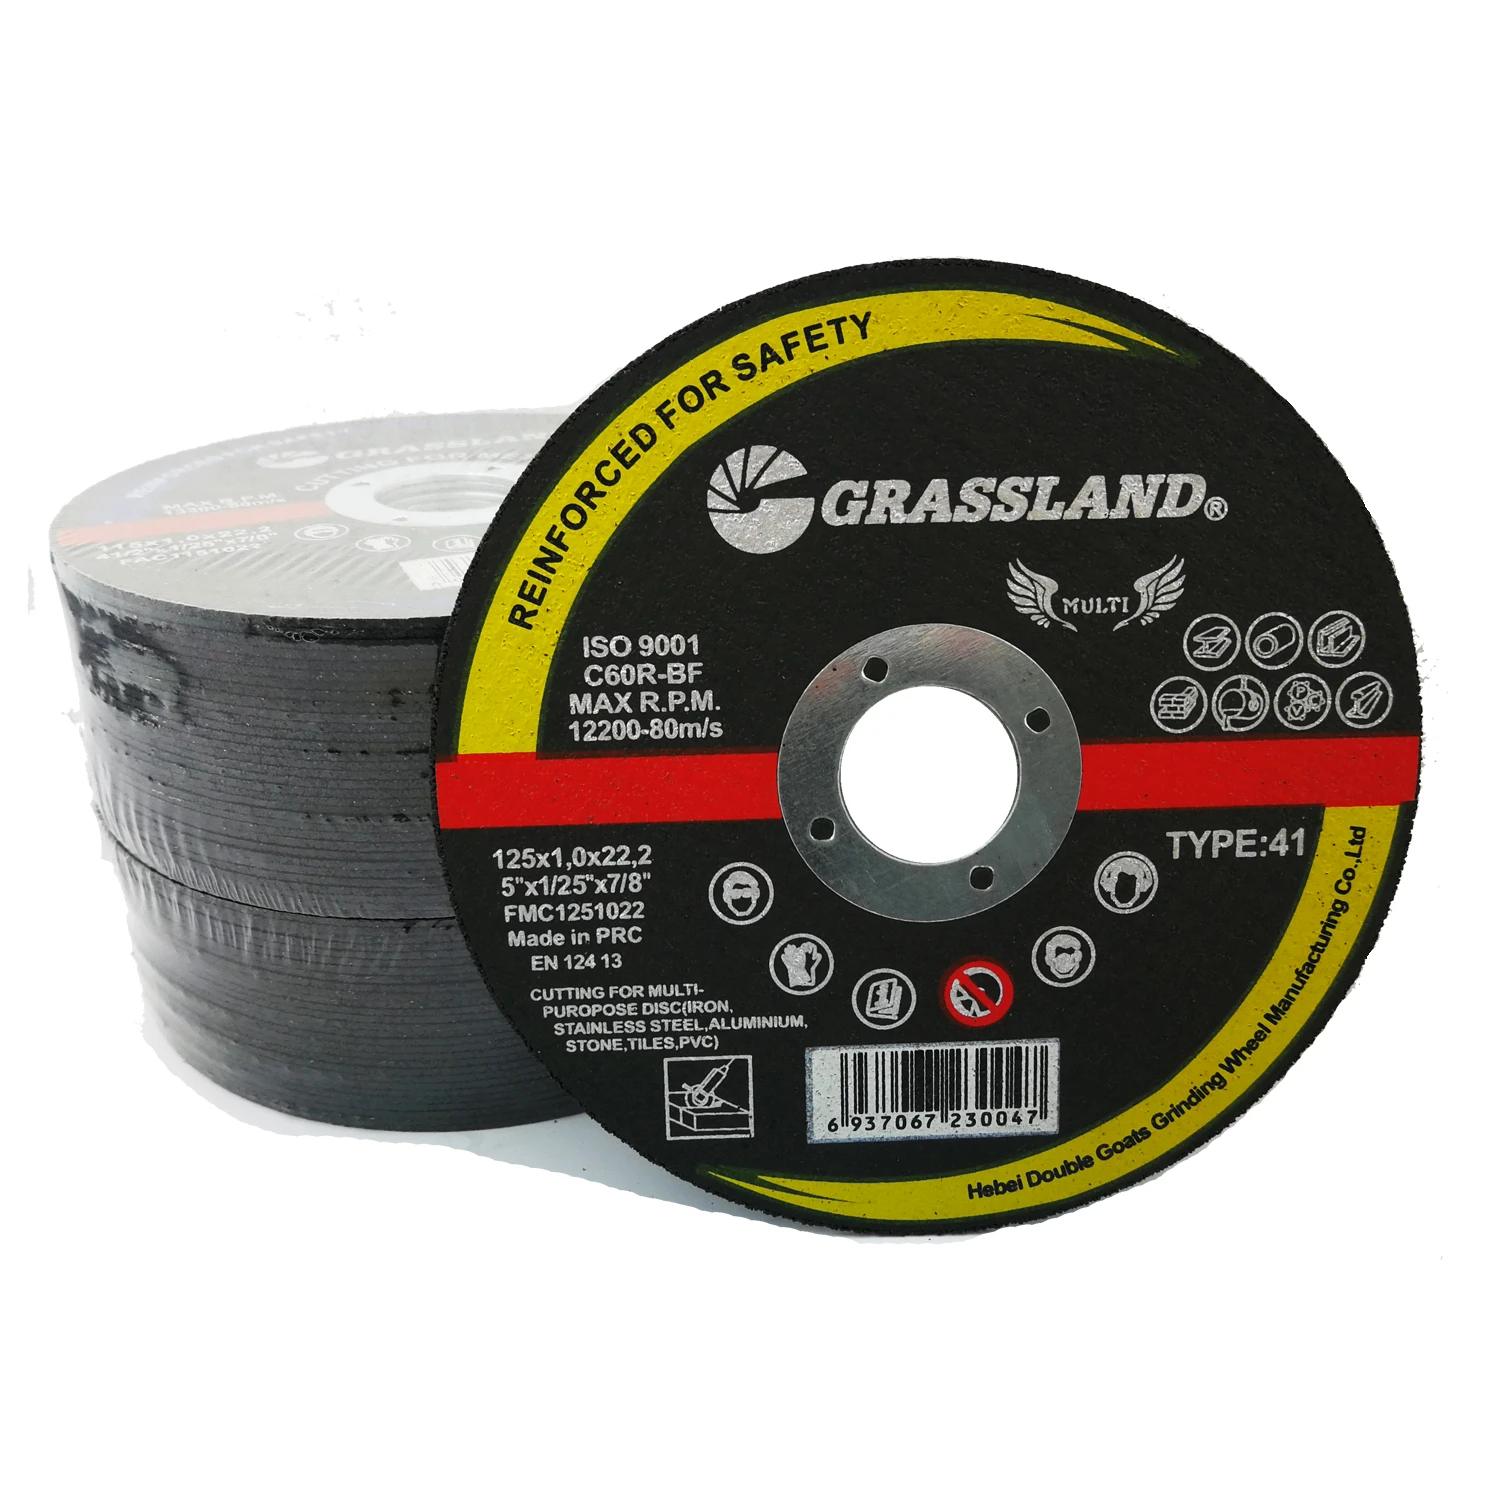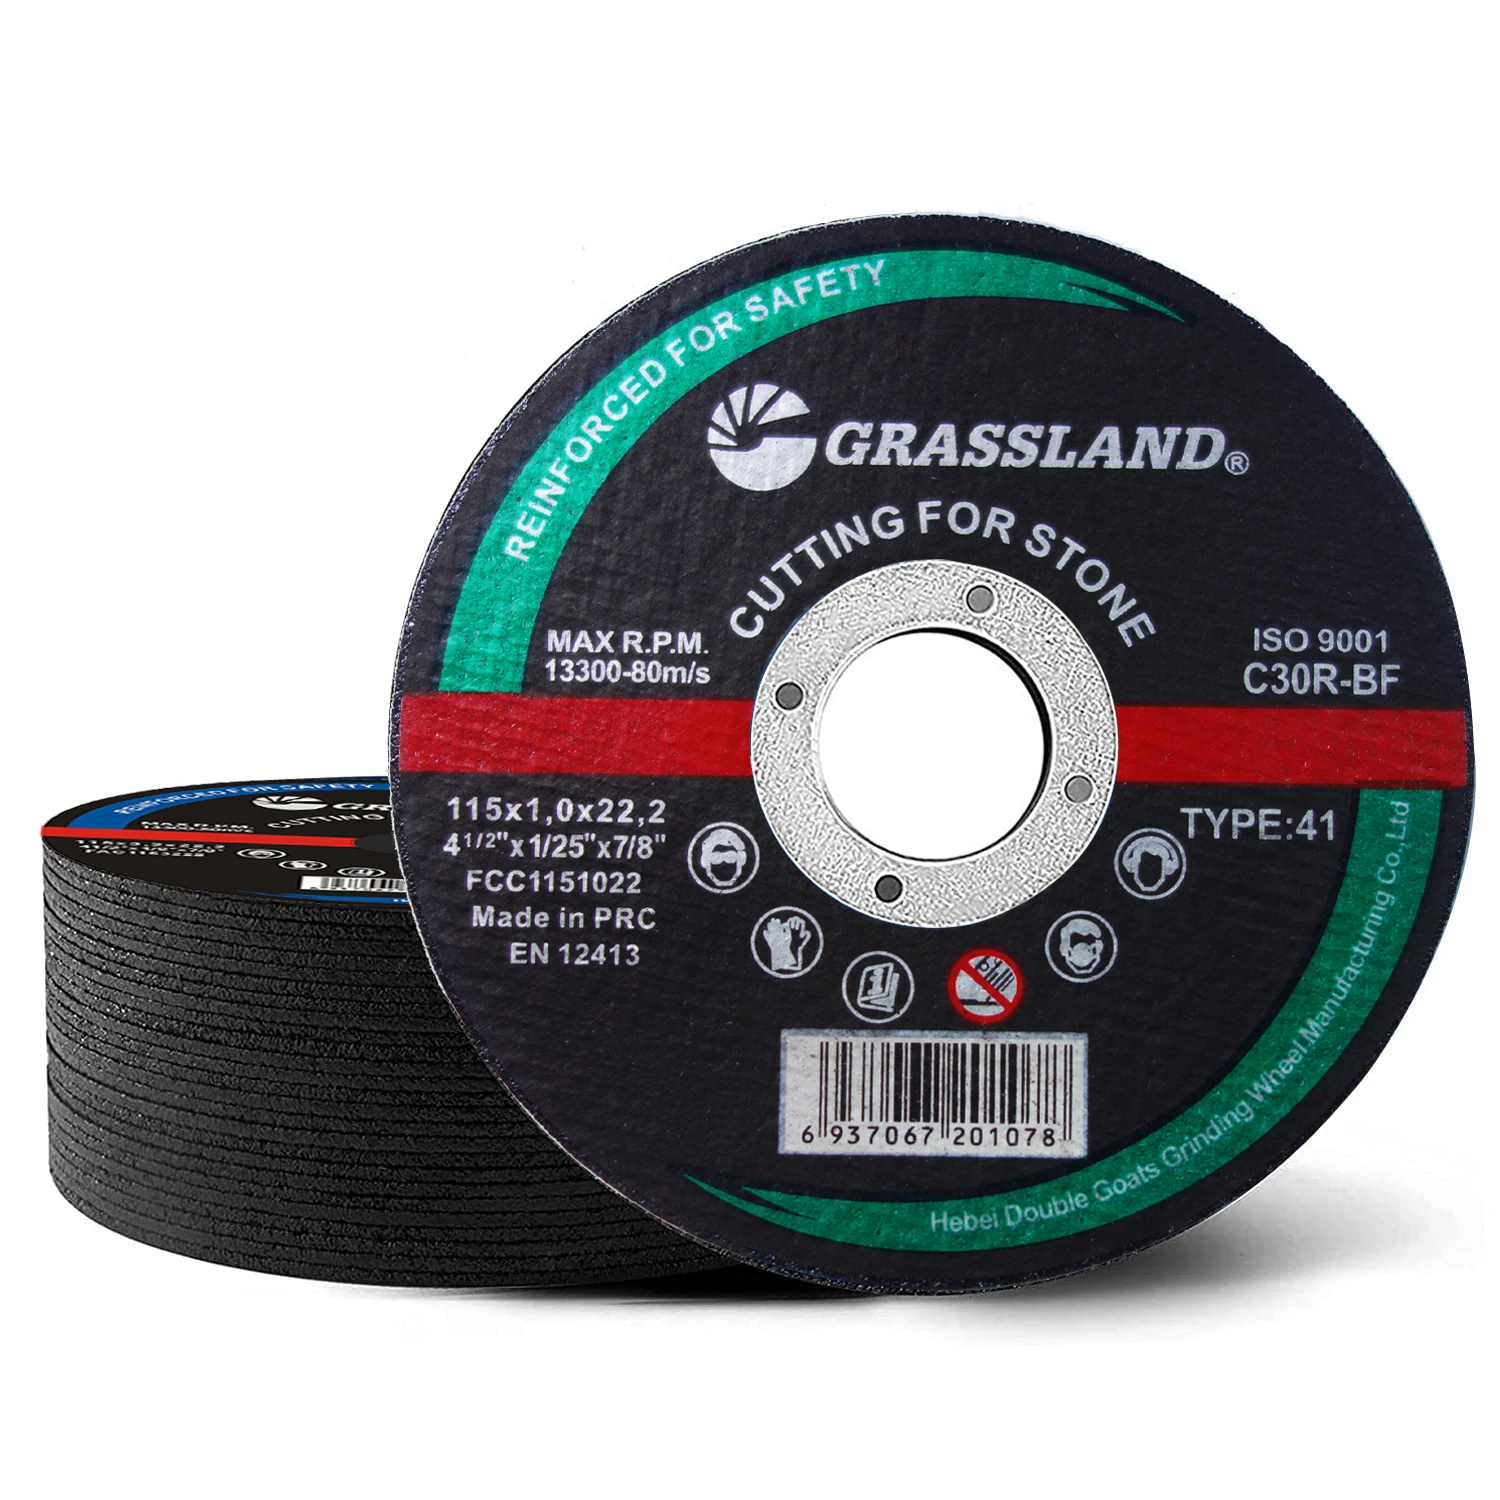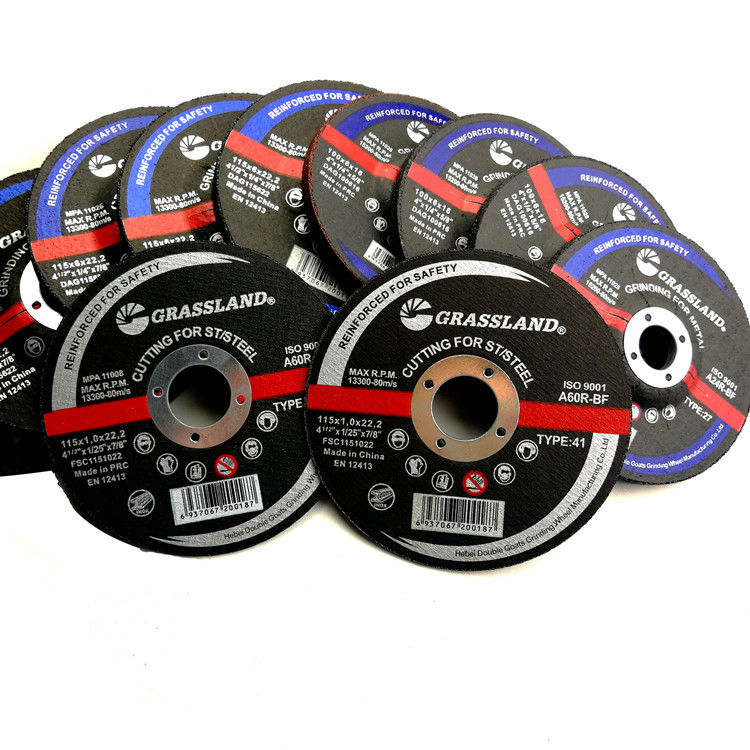

Carefully inspect the new cutting disc before placement. Check for any visible signs of damage such as cracks or irregularities that could compromise the disc's integrity during use. Utilization of a flawed disc can result in uneven cuts or, more critically, disc breakage during operation, posing significant safety hazards. Align the new disc with the spindle and flange. Notice the labeled side of the disc, often marked with arrows or text indicating the rotation direction, ensuring it matches the tool's operational direction. Proper alignment confirms cuts are precise and that tool efficiency is maximized. Secure the disc by tightening the flange nut. Experts stress the importance of not overtightening, which can warp the disc or damage threads. Firm yet moderate force is ideal, ensuring the disc sits snugly without being stressed. Test the installation by manually turning the disc. Ensure it spins freely without impediment. This affirmative step grants peace of mind that installation was successful and aligns with expert recommendations for pre-operation checks. Finally, reactivate the tool's power supply and conduct a brief test run, without load, to affirm that the disc is securely fastened and operational. A smooth rotation indicates readiness for the cutting task ahead, certifying both expertise and a professional approach to the procedure. By meticulously following these steps, you not only ensure a properly placed cutting disc but reinforce safe working habits grounded in authoritative best practices, enhancing both your confidence and craftsmanship.
Post time:Jan - 14 - 2025


