Stripping Paint with an Angle Grinder A Comprehensive Guide
When it comes to removing old paint from surfaces, traditional methods like scraping, sanding, or using chemical strippers can be time-consuming and labor-intensive. An angle grinder, known for its power and versatility, can be an efficient tool for paint stripping when used correctly. In this article, we will explore how to effectively and safely strip paint using an angle grinder, helping you achieve a smooth surface for your next project.
Understanding the Angle Grinder
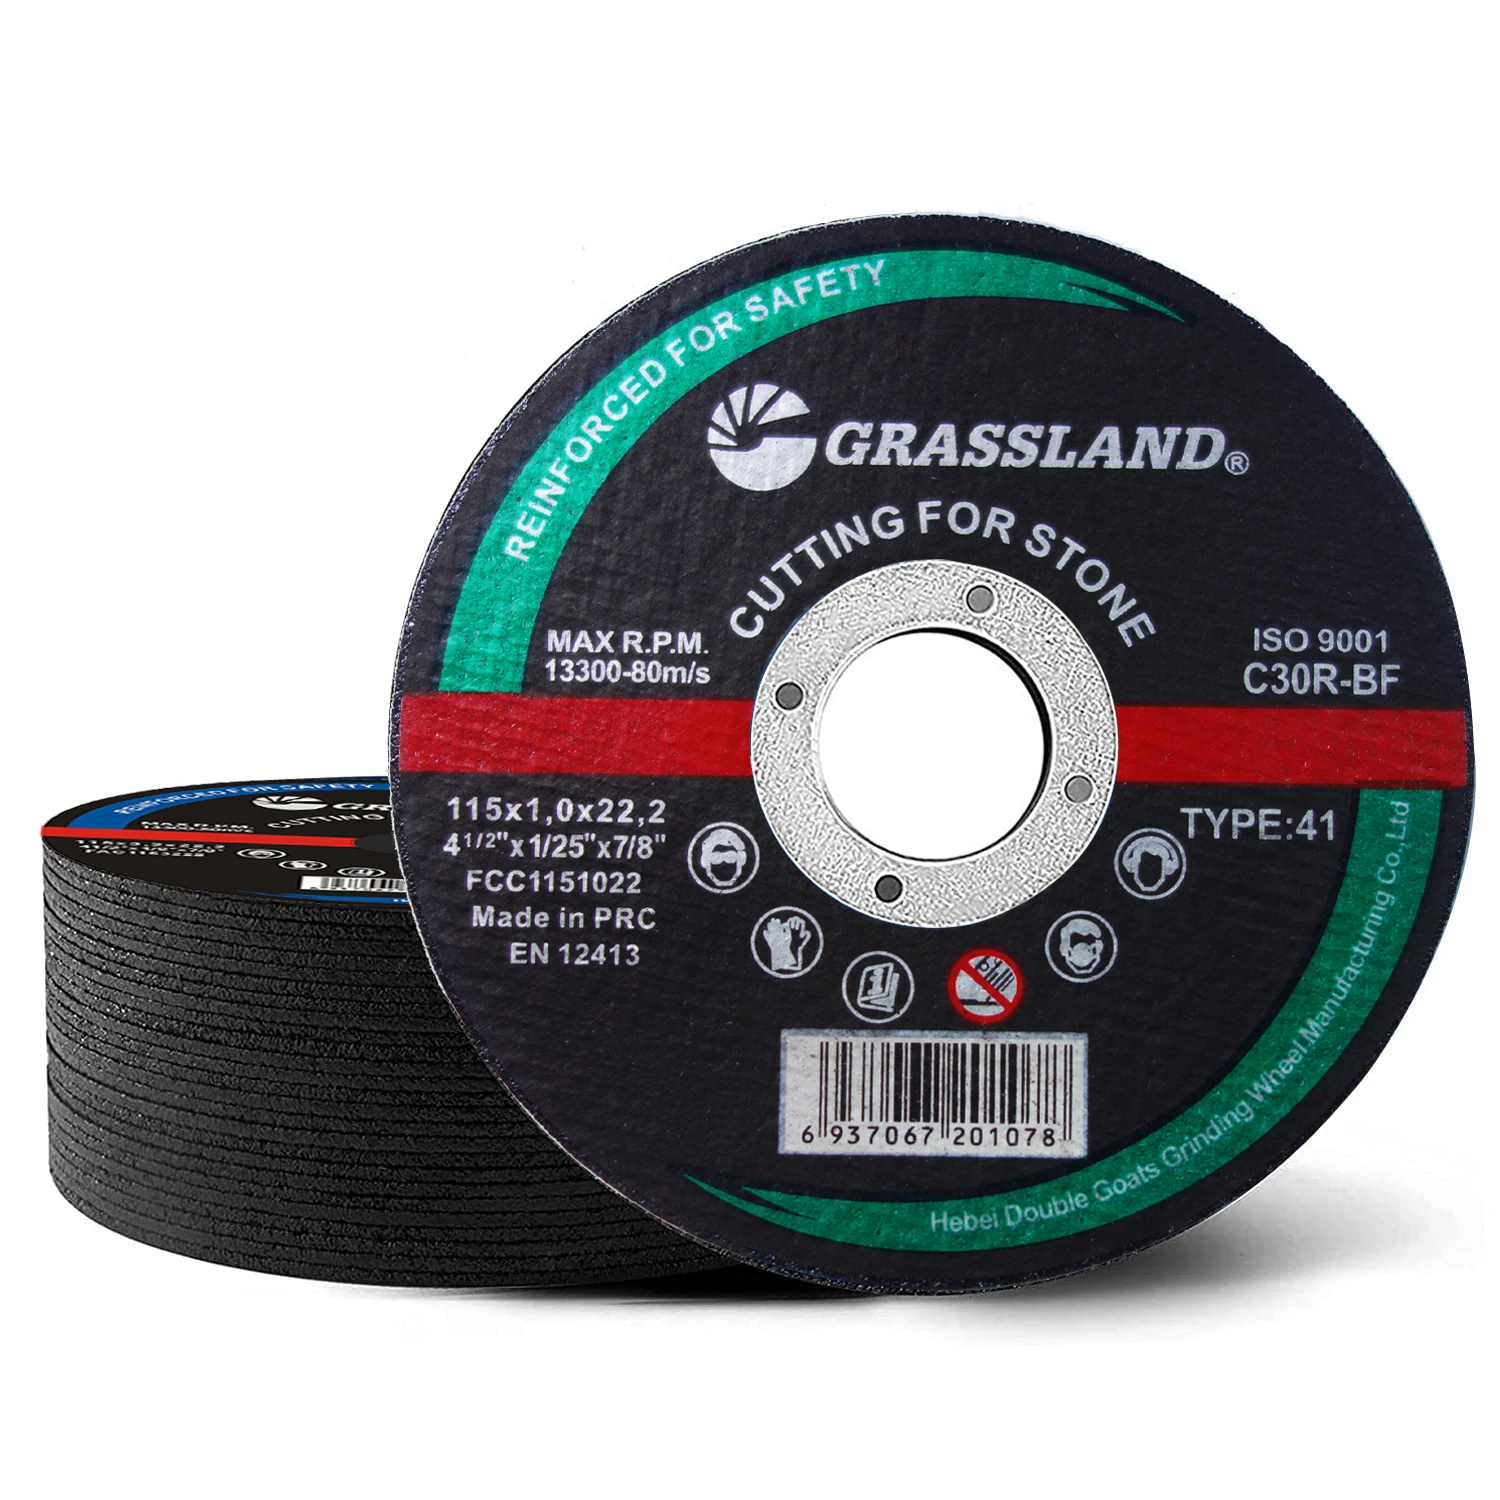
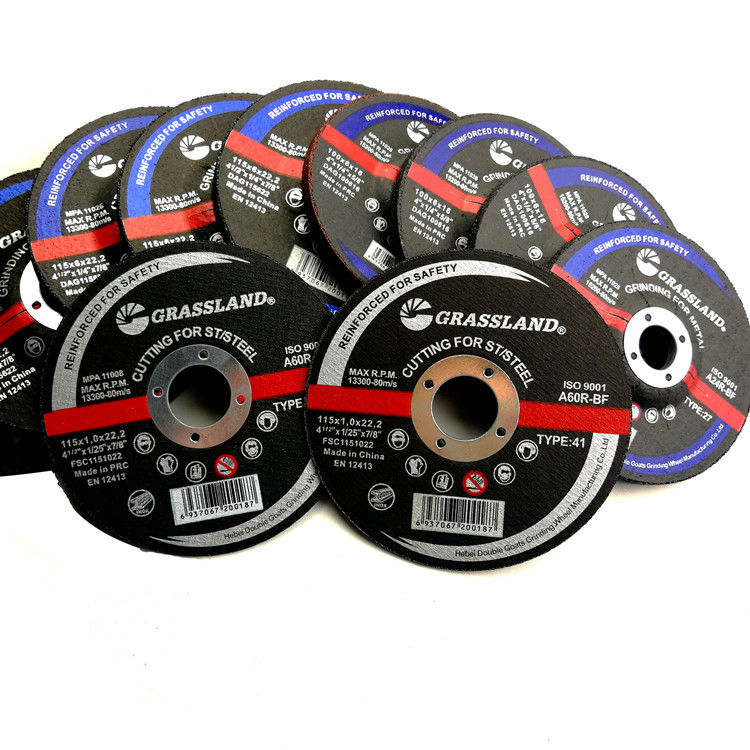
An angle grinder is a handheld power tool that can be fitted with various attachments, including grinding wheels, cutting discs, and wire brushes. It operates at high speeds, making it suitable for tasks such as grinding metals, cutting tiles, and yes, stripping paint. When stripping paint, it’s essential to choose the right attachment to prevent damage to the underlying surface.
Choosing the Right Attachment
For stripping paint, the two most commonly used attachments are
1. Wire Brush Wheels These are effective for removing loose paint and rust. They are gentle enough to use on wooden surfaces without causing significant damage. 2. Flap Discs These consist of multiple overlapping layers of abrasive material. They are great for heavy-duty stripping jobs and provide a more aggressive approach compared to wire wheels. However, they can also dig into softer surfaces, so caution is required.
When selecting your attachment, consider the type of surface you will be working on—wood, metal, or concrete—and choose accordingly.
Preparing for the Job
Before you start, ensure you have the right safety gear
- Safety Goggles Protect your eyes from dust and debris. - Dust Mask or Respirator Guard against inhaling paint particles and dust. - Hearing Protection Angle grinders can be quite loud, so use ear protection. - Gloves Protect your hands from sharp metal or debris.
angle grinder strip paint

Additionally, prepare your workspace by ensuring good ventilation, especially if you’re working indoors. Clear the area of any flammable materials and cover surfaces that you want to protect from dust.
The Stripping Process
1. Secure the Workpiece If you are working on a large item, make sure it is stable to avoid any accidents. Clamp smaller pieces securely to a workbench.
2. Set Your Angle Grinder Attach your chosen accessory and adjust the guard to ensure safety. Make sure the grinder is unplugged while you are changing attachments.
3. Start Grinding Plug in the grinder, and before engaging the surface, practice controlling the tool in the air. Once comfortable, gently place the grinder on the surface. Keep it moving to prevent gouging or damaging the material underneath.
4. Maintain Proper Angle and Pressure Hold the grinder at a slight angle to the surface and apply even pressure. Too much pressure can lead to uneven surfaces.
5. Check Your Progress Often Regularly assess the area you’re working on to ensure that you are effectively removing paint without damaging the substrate. If the paint is particularly stubborn, it may help to switch attachments or adjust your technique.
6. Finish and Clean Up Once you have removed all the paint, take some time to smooth out any rough areas with finer grit sandpaper or a sanding attachment, if necessary. Finally, clean the area of any dust and debris.
Final Thoughts
Stripping paint with an angle grinder can significantly expedite your renovation projects, but it’s crucial to approach the task with care. Understand the type of surface you're working on and choose the appropriate attachment to avoid damage. Also, always prioritize safety by using protective gear and maintaining a clean workspace.
By following these guidelines, you can efficiently remove old paint and prepare your projects for a fresh new look. Whether you’re a DIY enthusiast or a seasoned professional, mastering the use of an angle grinder for paint stripping can save you time and effort, ultimately bringing you one step closer to achieving your vision. Happy grinding!
Post time:Dec - 13 - 2024