Using an Angle Grinder to Sand Metal A Comprehensive Guide
Angle grinders are versatile tools commonly employed in metalworking, offering remarkable efficiency for a variety of applications. While they are primarily known for cutting and grinding, angle grinders can also be effectively used for sanding metal surfaces. This guide will explore the relevant techniques, attachments, and safety precautions to make the most out of your angle grinder when sanding metal.
Understanding the Angle Grinder
An angle grinder operates with a rotating disc that can quickly grind, cut, or polish surfaces depending on the attachment used. The tool's power and speed make it an excellent choice for sanding metal, especially on larger surfaces or for heavy-duty applications. However, it is critical to use the correct sanding disc and technique to achieve the desired finish.
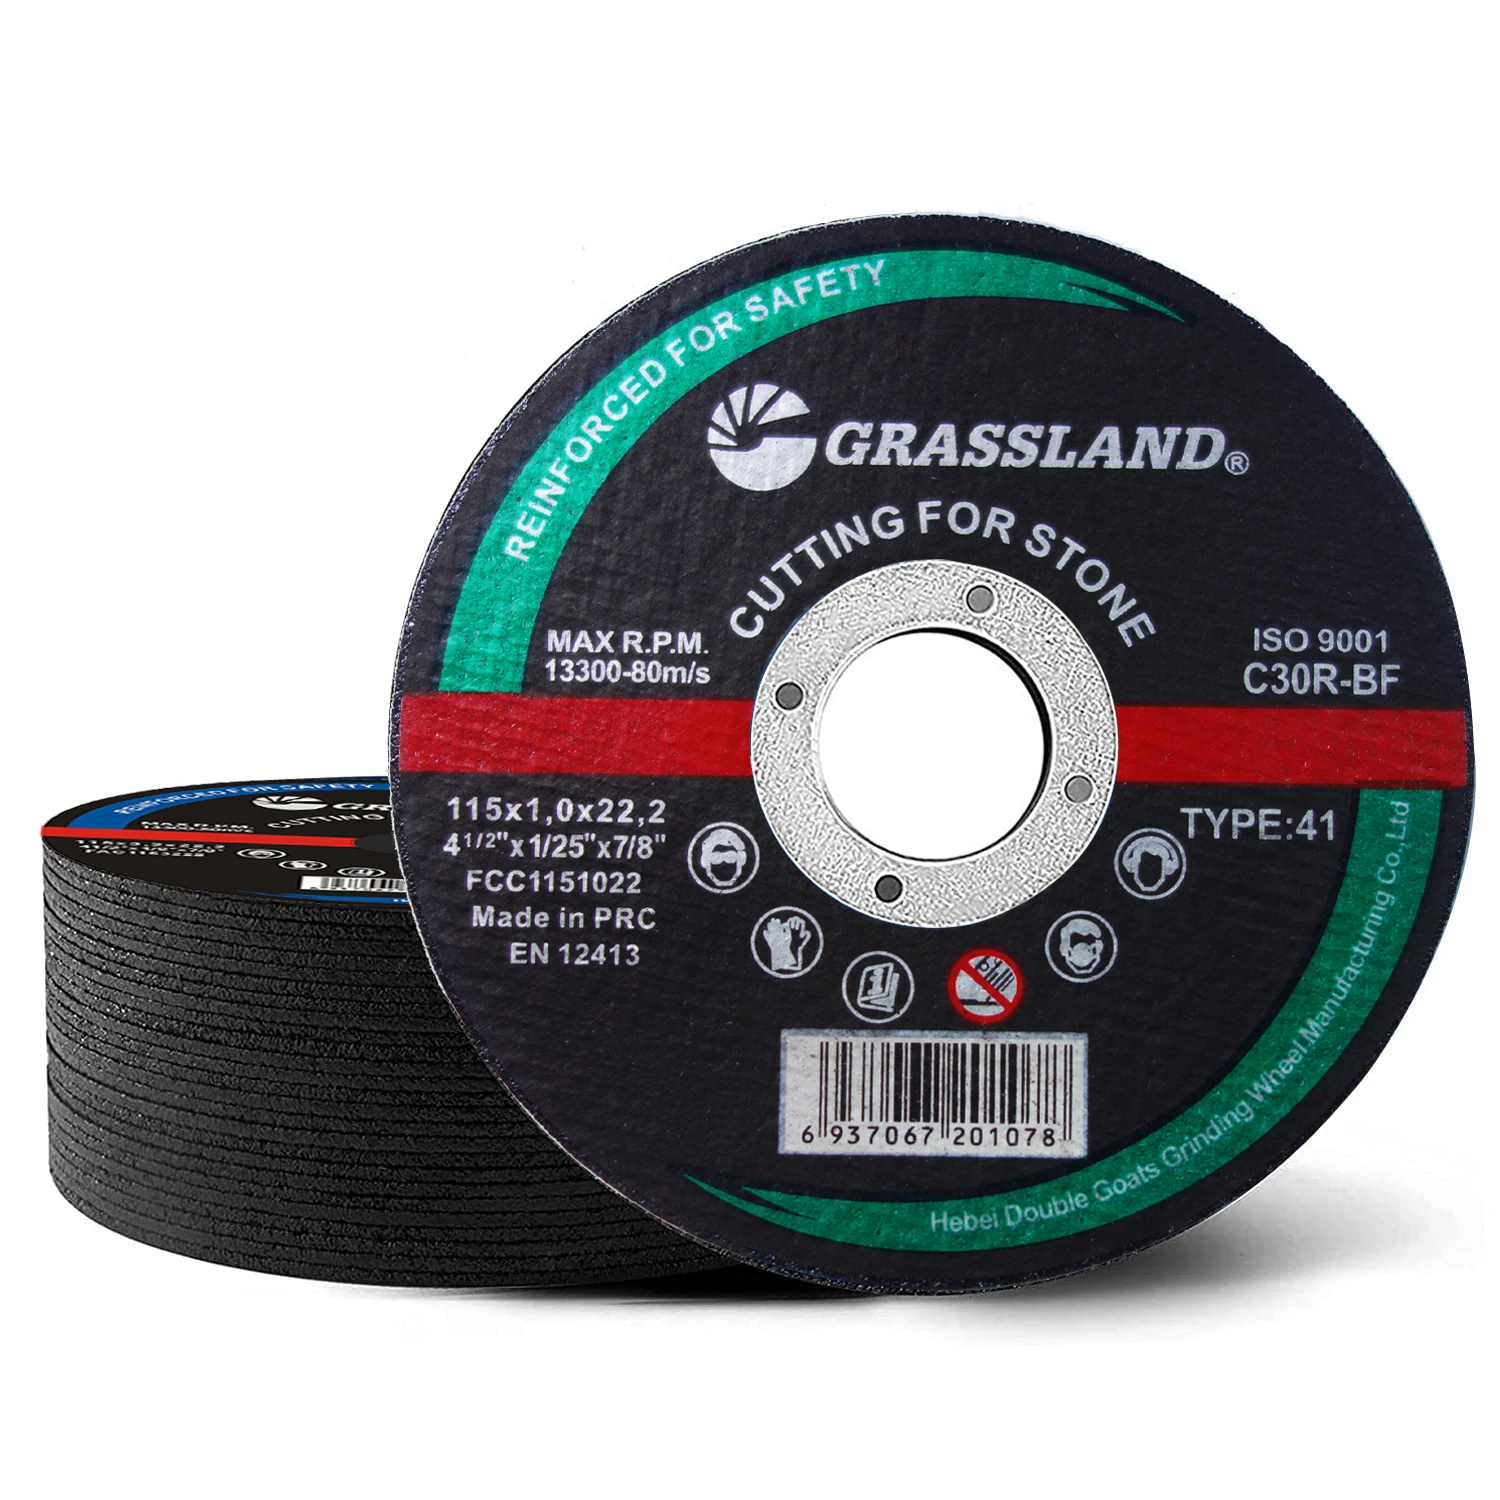
Choosing the Right Sanding Disc
The first step in using an angle grinder for sanding metal is selecting the appropriate sanding disc. There are several types available, including
1. Flap Discs These discs feature layers of sandpaper arranged in a flap-like formation. They are excellent for removing material and finishing surfaces, making them ideal for sanding irregular shapes.
2. Sanding Pads You can attach rubber or foam sanding pads to the angle grinder, which can accept different grades of sandpaper. This option is suitable for finer work and provides a smoother finish.
3. Diamond Discs Though more expensive, diamond discs are suitable for heavy machining tasks and can achieve aggressive material removal on hard metal surfaces.
Make sure to choose the right grit size for your project; lower numbers indicate coarse grit for material removal, while higher numbers are for finer sanding finishes.
Techniques for Sanding Metal with an Angle Grinder
Once you have the appropriate attachment and have secured the grinder, proceed with the sanding process
1. Preparation Before you begin, ensure the metal surface is clean and free from dirt or grease. Secure the workpiece firmly to prevent it from moving during sanding.
angle grinder to sand metal

2. Application Start the grinder at a low speed. It’s advisable to begin with the coarsest grit to remove any rust, paint, or imperfections. Hold the grinder at a slight angle to the workpiece; this helps the sanding disc make contact without digging in.
3. Consistent Pressure Apply consistent pressure to ensure even sanding. Too much pressure can cause the disc to wear out faster and can also gouge the surface. Let the tool do the work—move it at a steady pace to cover the area uniformly.
4. Finish Up Gradually transition to finer grits by switching out discs. This will help achieve a smoother finish, especially if you're preparing metal for painting or other treatments.
5. Cooling Down Give the metal time to cool between processes. The heat generated by the grinder can warp or distort thin sections of metal.
Safety Precautions
Using an angle grinder comes with inherent risks, so always employ safety measures
- Personal Protective Equipment (PPE) Wear protective goggles, gloves, and a face shield to shield against sparks and metal shards.
- Proper Ventilation Ensure adequate ventilation in the workspace to avoid inhaling dust particles generated during sanding.
- Secure Setup Make sure the grinder is in good working condition, and check that the sanding disc is securely mounted before each use.
- Avoid Loose Clothing Wear snug-fitting clothing to prevent it from getting caught in the rotating disc.
Conclusion
Sanding metal with an angle grinder is an efficient and effective way to remove material and prepare surfaces for finishing. By selecting the right attachments, employing proper techniques, and maintaining safety precautions, you can harness the full potential of this versatile tool. Whether you are a professional metalworker or a DIY enthusiast, mastering the art of sanding with an angle grinder can significantly enhance your metalworking capabilities and deliver impressive results.
Post time:Dec - 13 - 2024