Using an Angle Grinder to Strip Paint A Comprehensive Guide
When it comes to removing paint from surfaces, traditional methods such as scraping or sanding can be labor-intensive and time-consuming. However, an angle grinder can greatly speed up this process, making it an invaluable tool for homeowners and DIY enthusiasts alike. This article will guide you through the steps of using an angle grinder to strip paint effectively and safely.
Understanding the Angle Grinder
An angle grinder is a versatile power tool designed for grinding, cutting, and polishing various materials. It features a rotating disc or wheel that can be swapped out depending on the task at hand. For paint removal, specialized attachments like paint stripping discs or flap discs are available, which make the task much easier.
Choosing the Right Equipment
Before starting your paint removal project, it’s essential to select the right equipment. Here are some considerations
1. Angle Grinder Ensure you have a reliable angle grinder. A model with adjustable speed settings will give you better control, especially on sensitive surfaces.
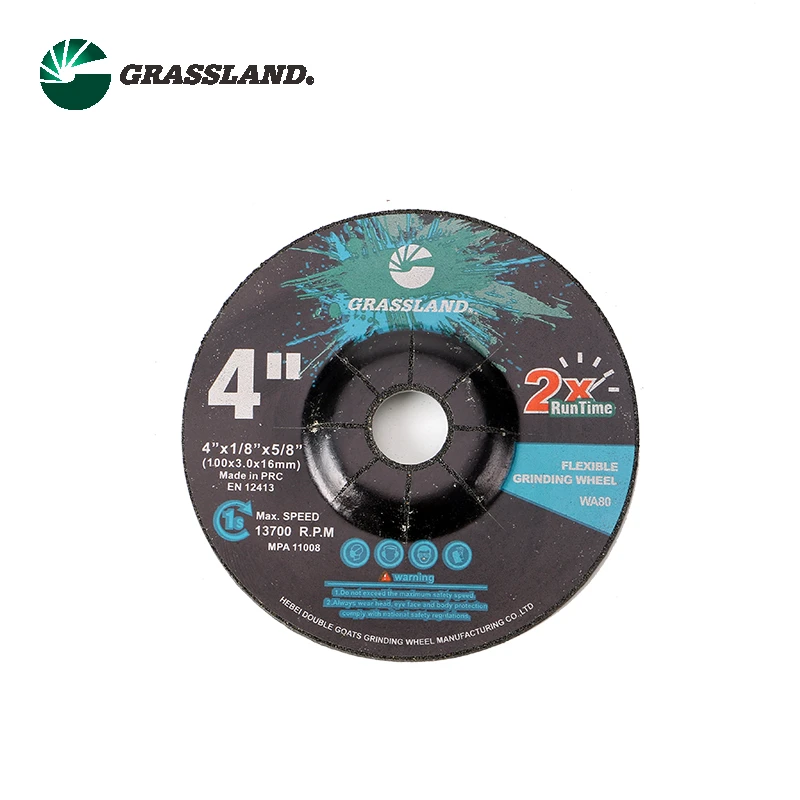
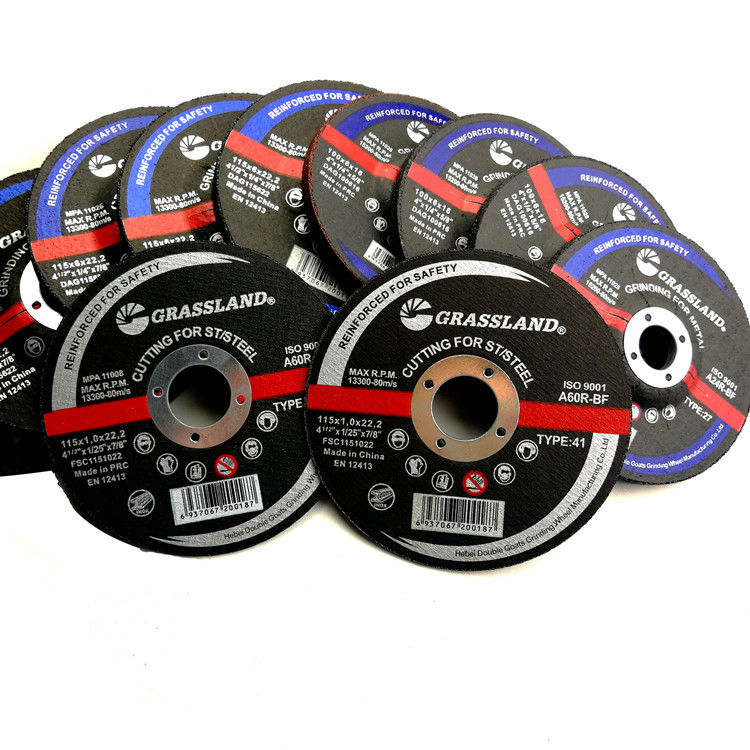
2. Paint Stripping Disc Look for a high-quality paint stripping disc specifically designed for use with angle grinders. These discs are typically made from materials like nylon and contain abrasive particles, which help strip paint without damaging the underlying surface.
3. Protective Gear Safety is paramount when using power tools. Always wear safety goggles to protect your eyes from debris, a dust mask to avoid inhaling paint particles, and hearing protection, as angle grinders can be quite loud.
Preparing the Work Area
Before you begin, preparing your workspace is essential. Choose a well-ventilated area to avoid inhaling harmful fumes, especially if you are working with old paint that may contain lead. Lay down drop cloths to protect the surrounding surfaces. Remove any furniture or items that could get damaged during the process.
Step-by-Step Process
angle grinder to strip paint

1. Assess the Surface Before stripping paint, examine the surface you’ll be working on. Determine if it’s wood, metal, or masonry, as this will influence your technique and disc choice.
2. Attach the Stripping Disc Power off the angle grinder, and securely attach the paint stripping disc according to the manufacturer’s instructions. Make sure it is tightened properly to prevent accidents.
3. Prepare the Grinder Adjust the speed setting to suit the material. A lower speed can be effective for softer surfaces, while higher speeds are suitable for tougher materials.
4. Start Grinding Turn on the angle grinder and approach the surface at a slight angle. Keep the grinder moving to prevent overheating any one spot, which can lead to damage or uneven surfaces. Be mindful of the pressure you apply; too much can gouge softer materials.
5. Monitor Progress Regularly check your progress to ensure you’re removing paint effectively without damaging the surface. It may take some time to find the right technique that works for your specific project.
6. Clean Up Once you’ve stripped the paint, clean the surface of any residue with a brush or vacuum. For finer cleaning, you may consider sanding lightly to ensure a smooth finish.
Aftercare and Precautions
After using the angle grinder, clean your tools and workspace thoroughly. Dispose of any paint debris properly. If you are stripping paint from a surface that requires repainting, ensure it is completely clean and dry before applying new paint.
Keep in mind that while angle grinders are powerful, they can also be dangerous if not used properly. Always follow the manufacturer’s safety guidelines and consider practicing on a scrap piece if you’re unfamiliar with the tool.
Conclusion
Using an angle grinder to strip paint can save you considerable time and effort compared to more traditional methods. With the right equipment and precautions in place, you can effectively tackle your paint removal project with confidence. Remember to prioritize safety and take your time to achieve the best results! Happy grinding!
Post time:Nov - 27 - 2024


