How to Install a Metal Cutting Disc A Step-by-Step Guide
When it comes to metalworking, having the right tools and accessories is crucial for achieving optimal results. One of the most essential components for cutting metal is the cutting disc. If you’re looking to cut through metal efficiently, learning how to properly install a metal cutting disc is key. This article will guide you through the process step-by-step, ensuring both safety and effectiveness.
Step 1 Gather Your Tools and Materials
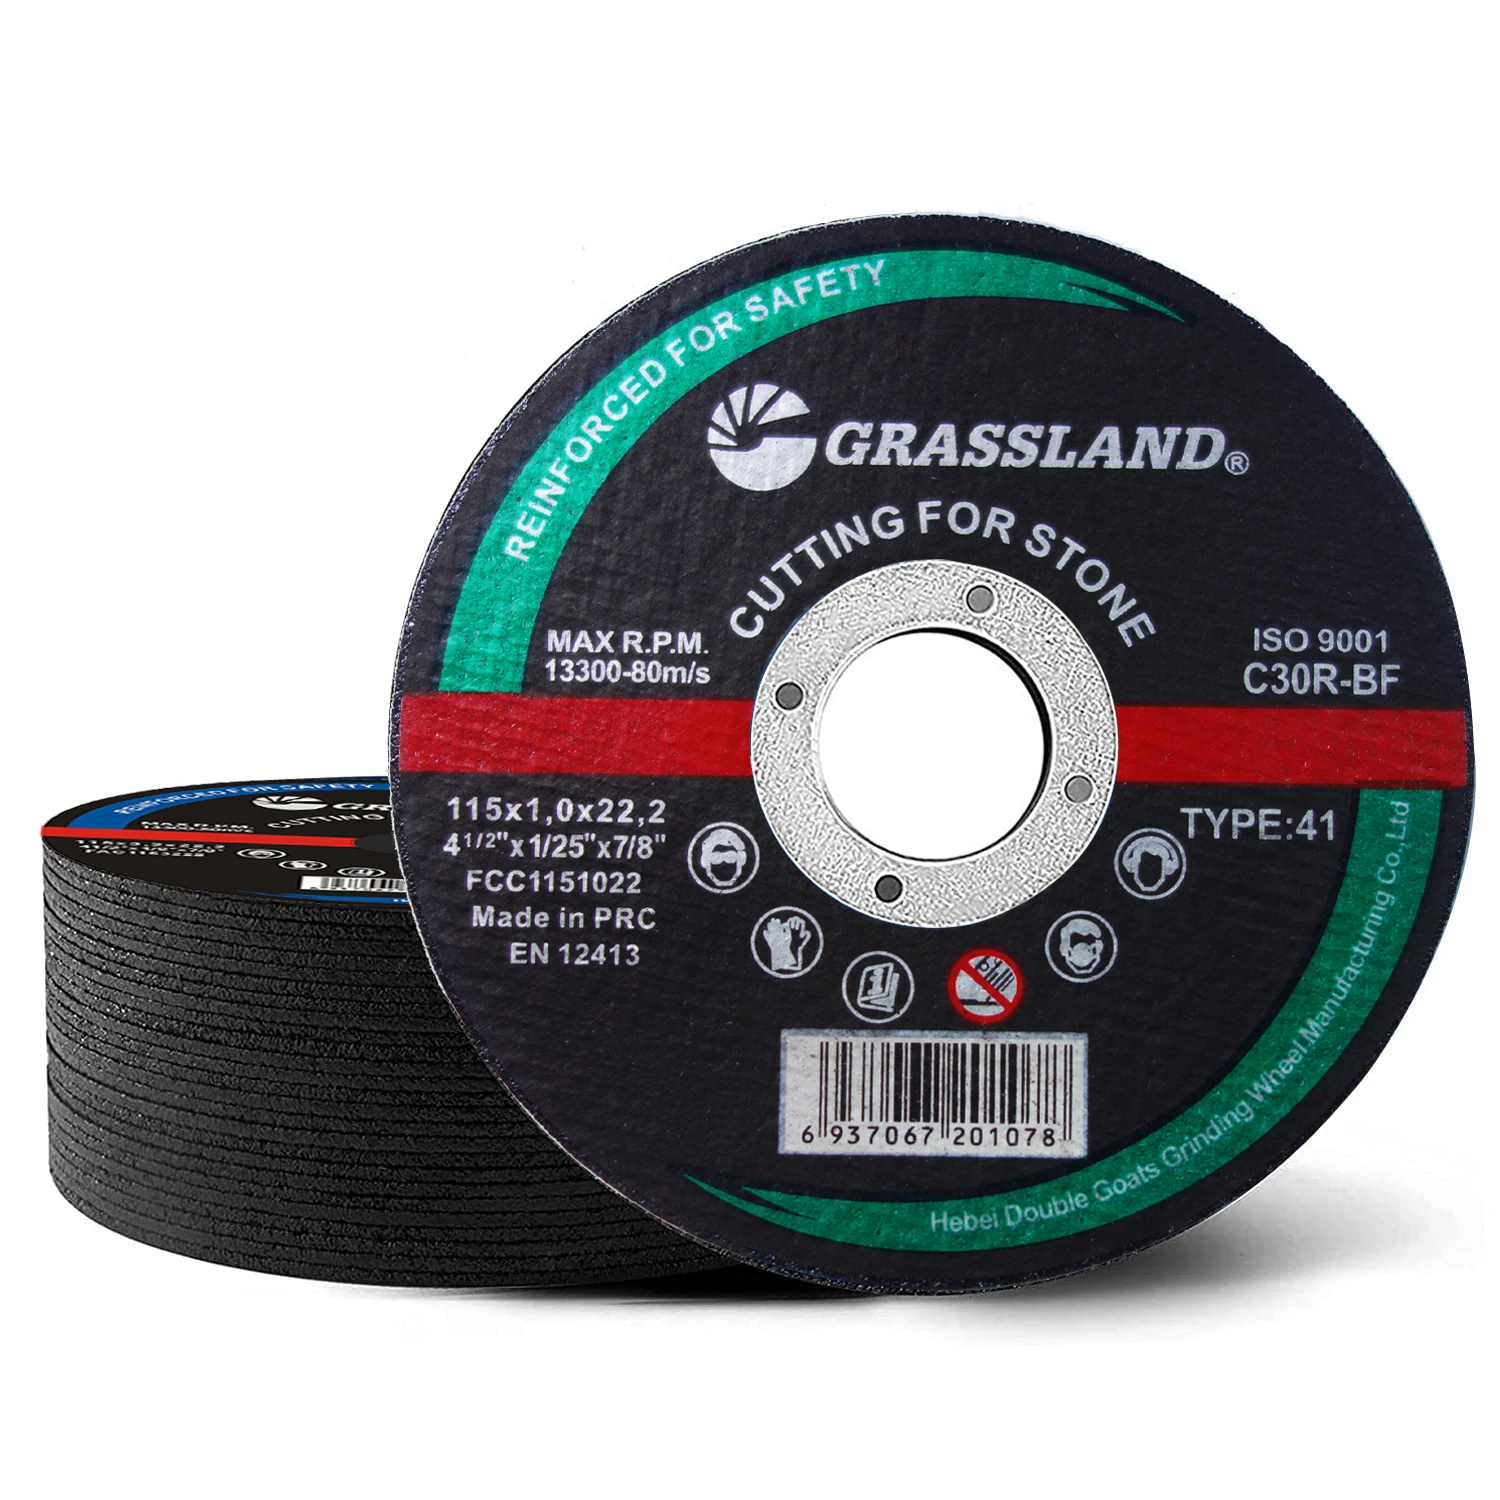
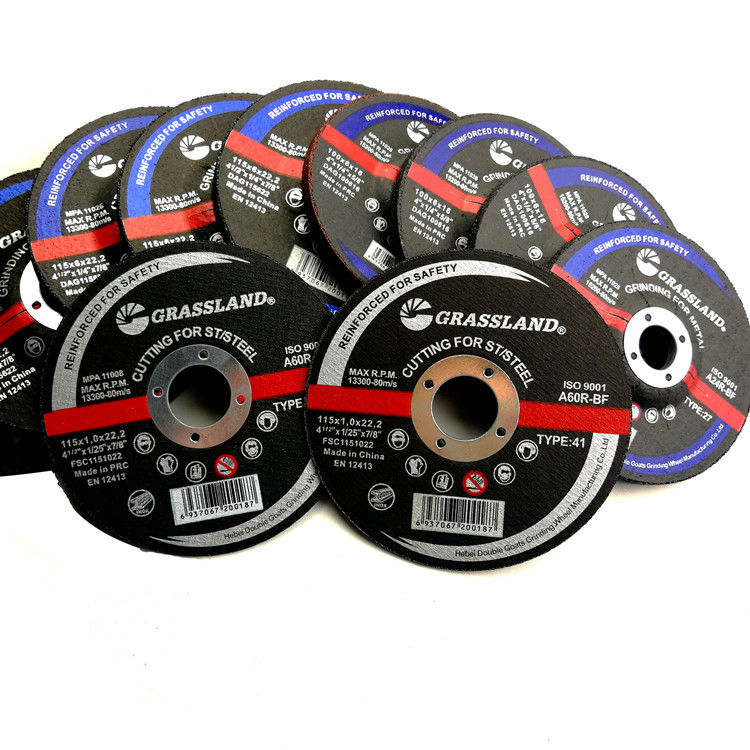
Before you begin the installation process, it’s vital to gather all the necessary tools and materials. You will need - A metal cutting disc. - An angle grinder (ensure that it’s compatible with your disc). - A wrench or spanner for securing the disc. - Personal protective equipment (PPE) including gloves, goggles, and a dust mask.
Step 2 Ensure Safety First
Safety is paramount when working with cutting tools. Ensure that you are wearing appropriate PPE to protect yourself from flying debris, sparks, and dust. Use a well-ventilated workspace, and make sure that no loose clothing or accessories could get caught in the grinder.
Step 3 Disconnect the Grinder
Before you begin changing the disc, ensure that the angle grinder is disconnected from the power source. This is crucial to prevent accidental starts or injuries during the installation process.
Step 4 Remove the Guard
Most angle grinders come with a protective guard. Depending on your model, you may need to remove this guard to access the disc. Use your wrench to loosen the screws or clamps holding the guard in place, and carefully detach it without damaging any components.
Step 5 Remove the Old Disc
como colocar un disco de corte de metal

Using the wrench, loosen the flange nut that secures the existing disc in place. Turn the nut counterclockwise until it is loose enough to remove. Once it is loose, carefully slide off the old disc from the spindle and set it aside.
Step 6 Install the New Metal Cutting Disc
Take your new metal cutting disc and ensure it is suitable for the material you’ll be cutting. Position the disc on the spindle with the correct side facing outward. Most cutting discs have directional arrows indicating the proper rotation—make sure to follow these instructions closely.
Once the disc is in place, hand-tighten the flange nut onto the spindle, turning it clockwise. After that, use the wrench to secure the nut tightly, but be careful not to overtighten it, as this could damage the disc.
Step 7 Reattach the Guard
Once the new disc is installed securely, reattach the protective guard. This is an important safety feature that helps shield you from sparks and debris during cutting. Ensure that it fits snugly and is properly secured before proceeding.
Step 8 Test the Setup
With everything in place, it’s time to test the setup. Plug in your angle grinder and turn it on briefly without cutting anything to ensure that the disc is functioning correctly. Listen for any unusual noises and check that the disc spins freely without wobbling.
Conclusion
Installing a metal cutting disc may seem daunting, but following these steps can make the process smooth and safe. Always prioritize safety by using the correct PPE and ensuring that your tools are in good working condition. With the new disc installed, you’re now ready to tackle your metal cutting projects with confidence and precision. Happy cutting!
Post time:Dec - 05 - 2024