How to Install a Metal Cutting Disc
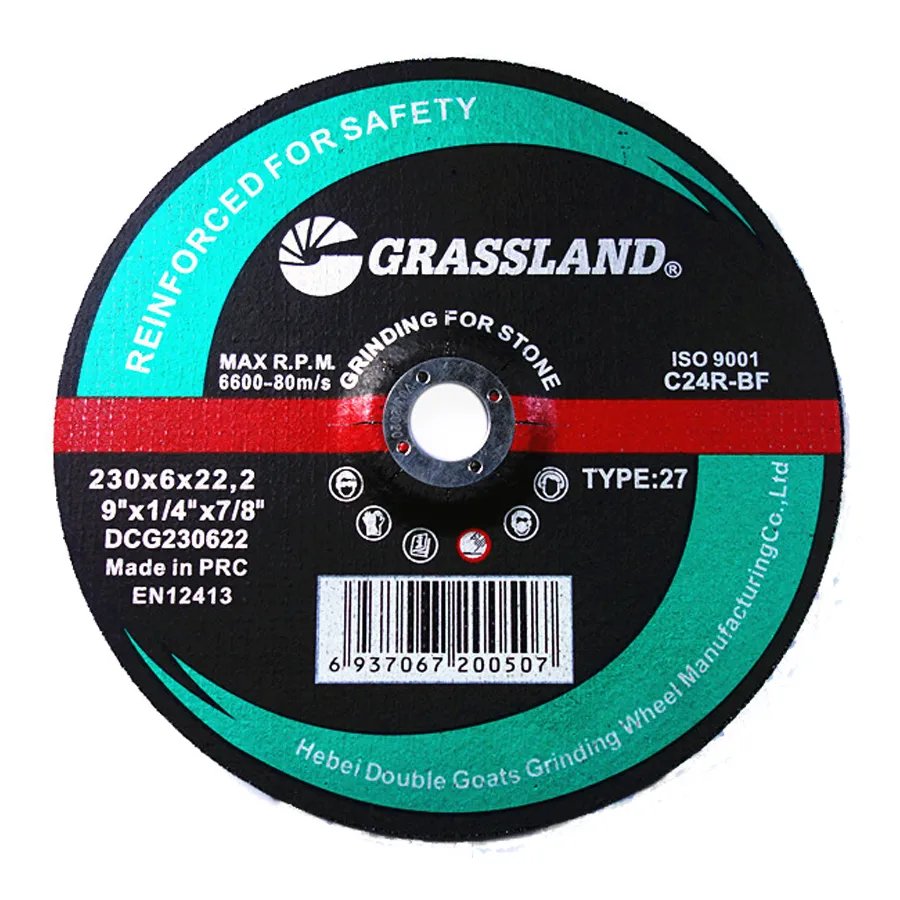
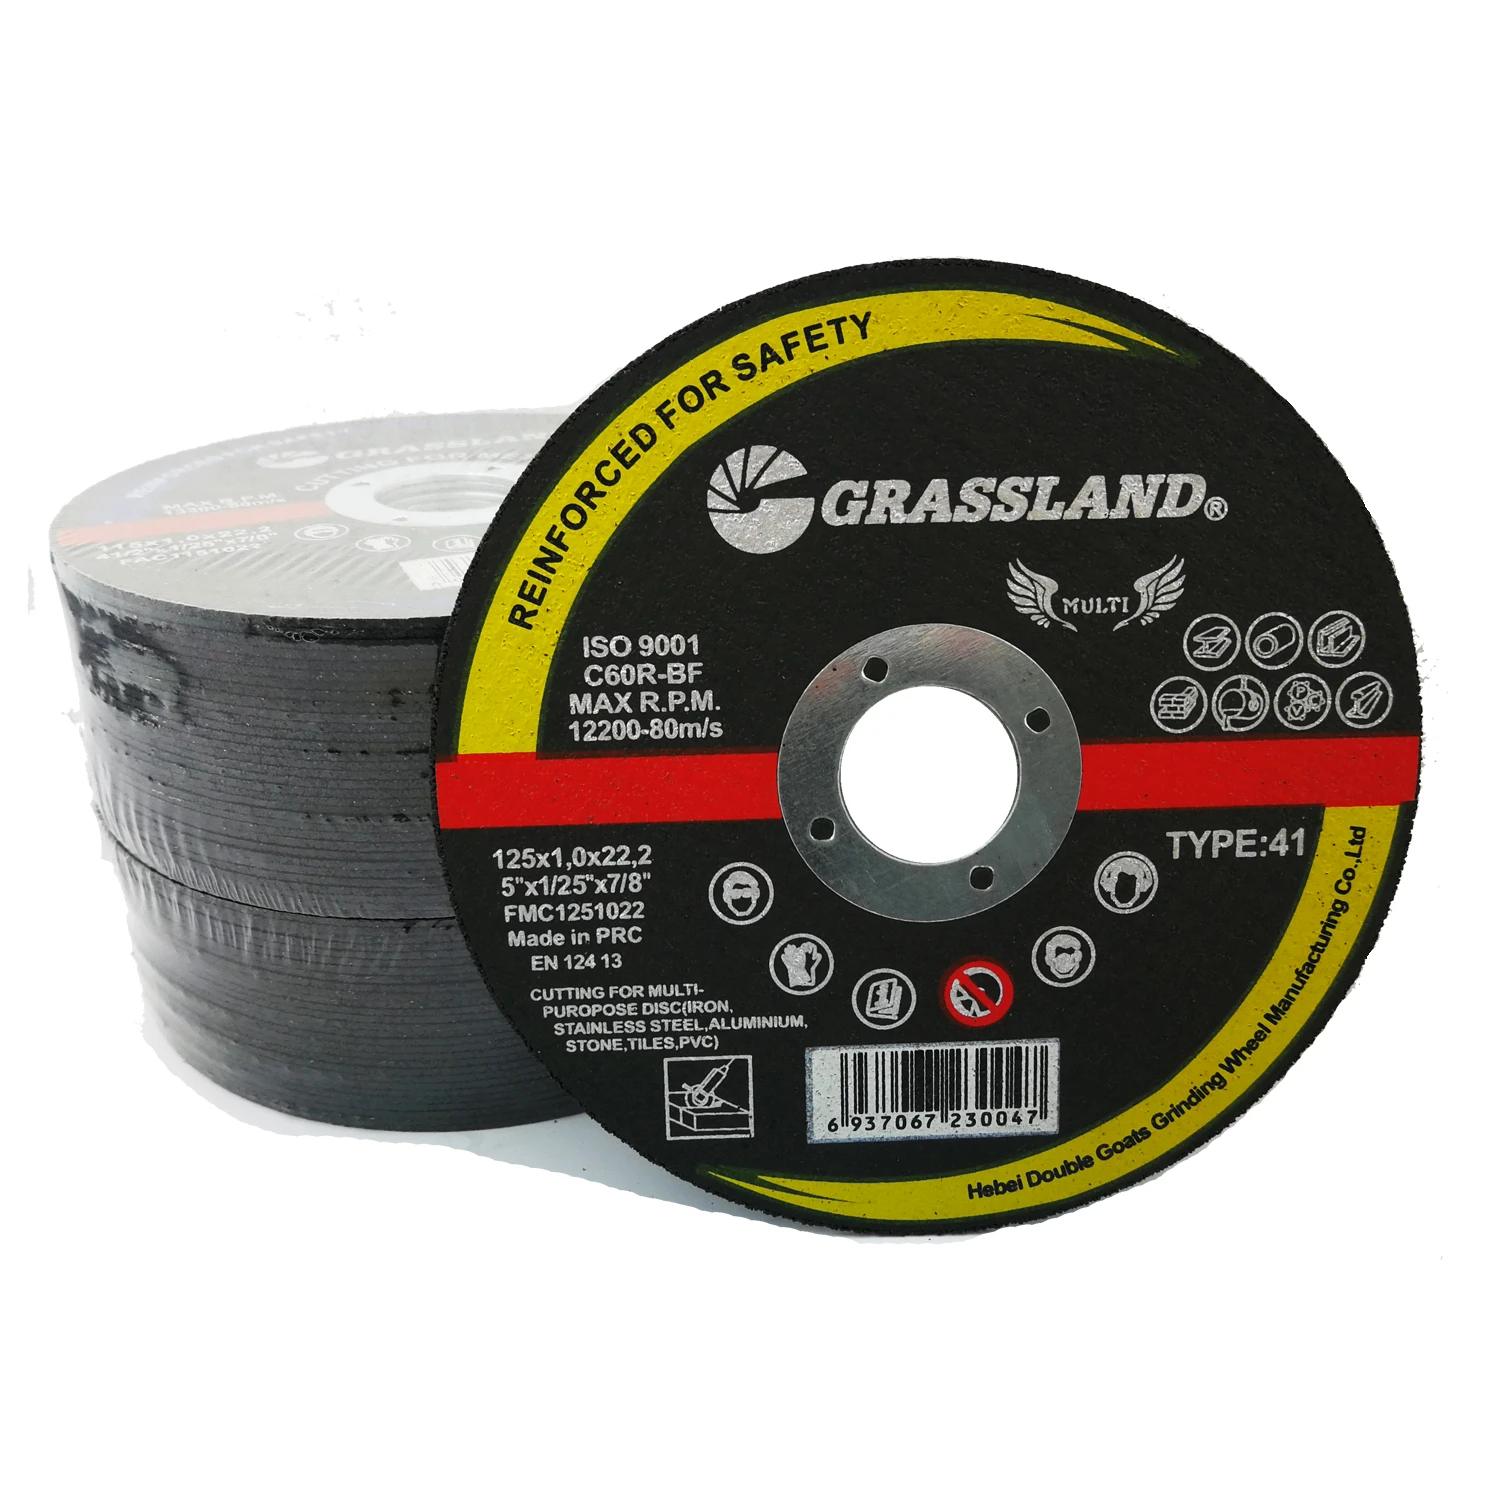
When it comes to metalworking, having the right tools is vital for efficiency and precision. One essential tool that metalworkers frequently use is the metal cutting disc. Whether you’re using a grinder or a cutting machine, knowing how to properly install a cutting disc is crucial for safety and achieving the desired results. This article will guide you through the steps needed to correctly place a metal cutting disc.
Step 1 Gather Your Tools and Materials
Before you begin, ensure you have all the necessary tools on hand. Typically, you'll need
- Metal cutting disc (which should be compatible with your machine). - Angle grinder or cutting machine. - Wrench or tool specific to your machine for securing the disc. - Safety gear (gloves, goggles, and hearing protection).
Always check the specifications of the disc and the machine to ensure compatibility. Using an incompatible disc can lead to dangerous situations.
Step 2 Safety First
Safety cannot be overstated in metalworking. Always wear proper protective equipment, including gloves to protect your hands from sharp edges and goggles to shield your eyes from flying debris. Additionally, hearing protection may be necessary, depending on the noise level of your tools.
Step 3 Power Off the Tool
Make sure that the angle grinder or cutting machine is turned off and unplugged from the power outlet. If it is battery-operated, remove the battery. This step is critical to prevent accidental starts, which could lead to serious injuries.
Step 4 Remove the Old Disc
If you are changing an existing disc, use the wrench or the tool specifically designed for your machine to loosen the nut holding the disc in place. Turn the nut counterclockwise while applying some pressure to keep the disc stationary. Once the nut is loose, remove it along with the old disc. Store these components in a safe place, as you may need them for future replacements.
como colocar un disco de corte de metal

Step 5 Inspect the New Disc
Before installation, carefully inspect the new cutting disc for any visible defects or damages. Check for cracks, warps, or any signs of wear. A damaged disc can break during use, posing a severe risk of injury. If you find any issues, do not use the disc and instead consider replacing it with a new one.
Step 6 Install the New Disc
Place the new metal cutting disc onto the spindle of the angle grinder or cutting machine. Ensure that the disc is oriented correctly, as most discs have a directional arrow indicating the proper rotation. Align the disc so that it sits flat against the machine’s flanges.
Step 7 Secure the Disc
With the disc in place, replace the retaining nut. Hand-tighten it to ensure it is secure. Use the wrench to tighten it further, turning it clockwise. Ensure the disc is firmly attached without being overly tight, as excessive force could damage the disc or the machine.
Step 8 Check Your Work
After the disc is securely installed, double-check everything. Ensure that there are no loose components, and that the cutting disc spins freely. If you notice any wobbling or imbalance, recheck the installation.
Step 9 Plug In and Test
Reconnect the power or insert the battery. Turn on the machine briefly to ensure it operates smoothly. Monitor for any unusual sounds or vibrations. If everything seems in order, you’re ready to start cutting!
Conclusion
Installing a metal cutting disc may seem straightforward, but it requires attention to detail and an emphasis on safety. By following these steps, you can ensure that your cutting disc is installed correctly, helping you perform your metalworking tasks efficiently and safely. Always remember to exercise caution and prioritize safety in your metalworking endeavors. Happy cutting!
Post time:Nov - 16 - 2024


