Understanding the Use of Diamond Grinding Discs for Tile Cutting
In the world of construction and home renovation, achieving a clean and precise cut is paramount, especially when dealing with materials like tiles that require a high level of craftsmanship. One of the essential tools for this task is the diamond grinding disc, particularly designed for cutting ceramic tiles. This article explores the purpose, advantages, and techniques associated with using diamond grinding discs for tile cutting.
What Is a Diamond Grinding Disc?
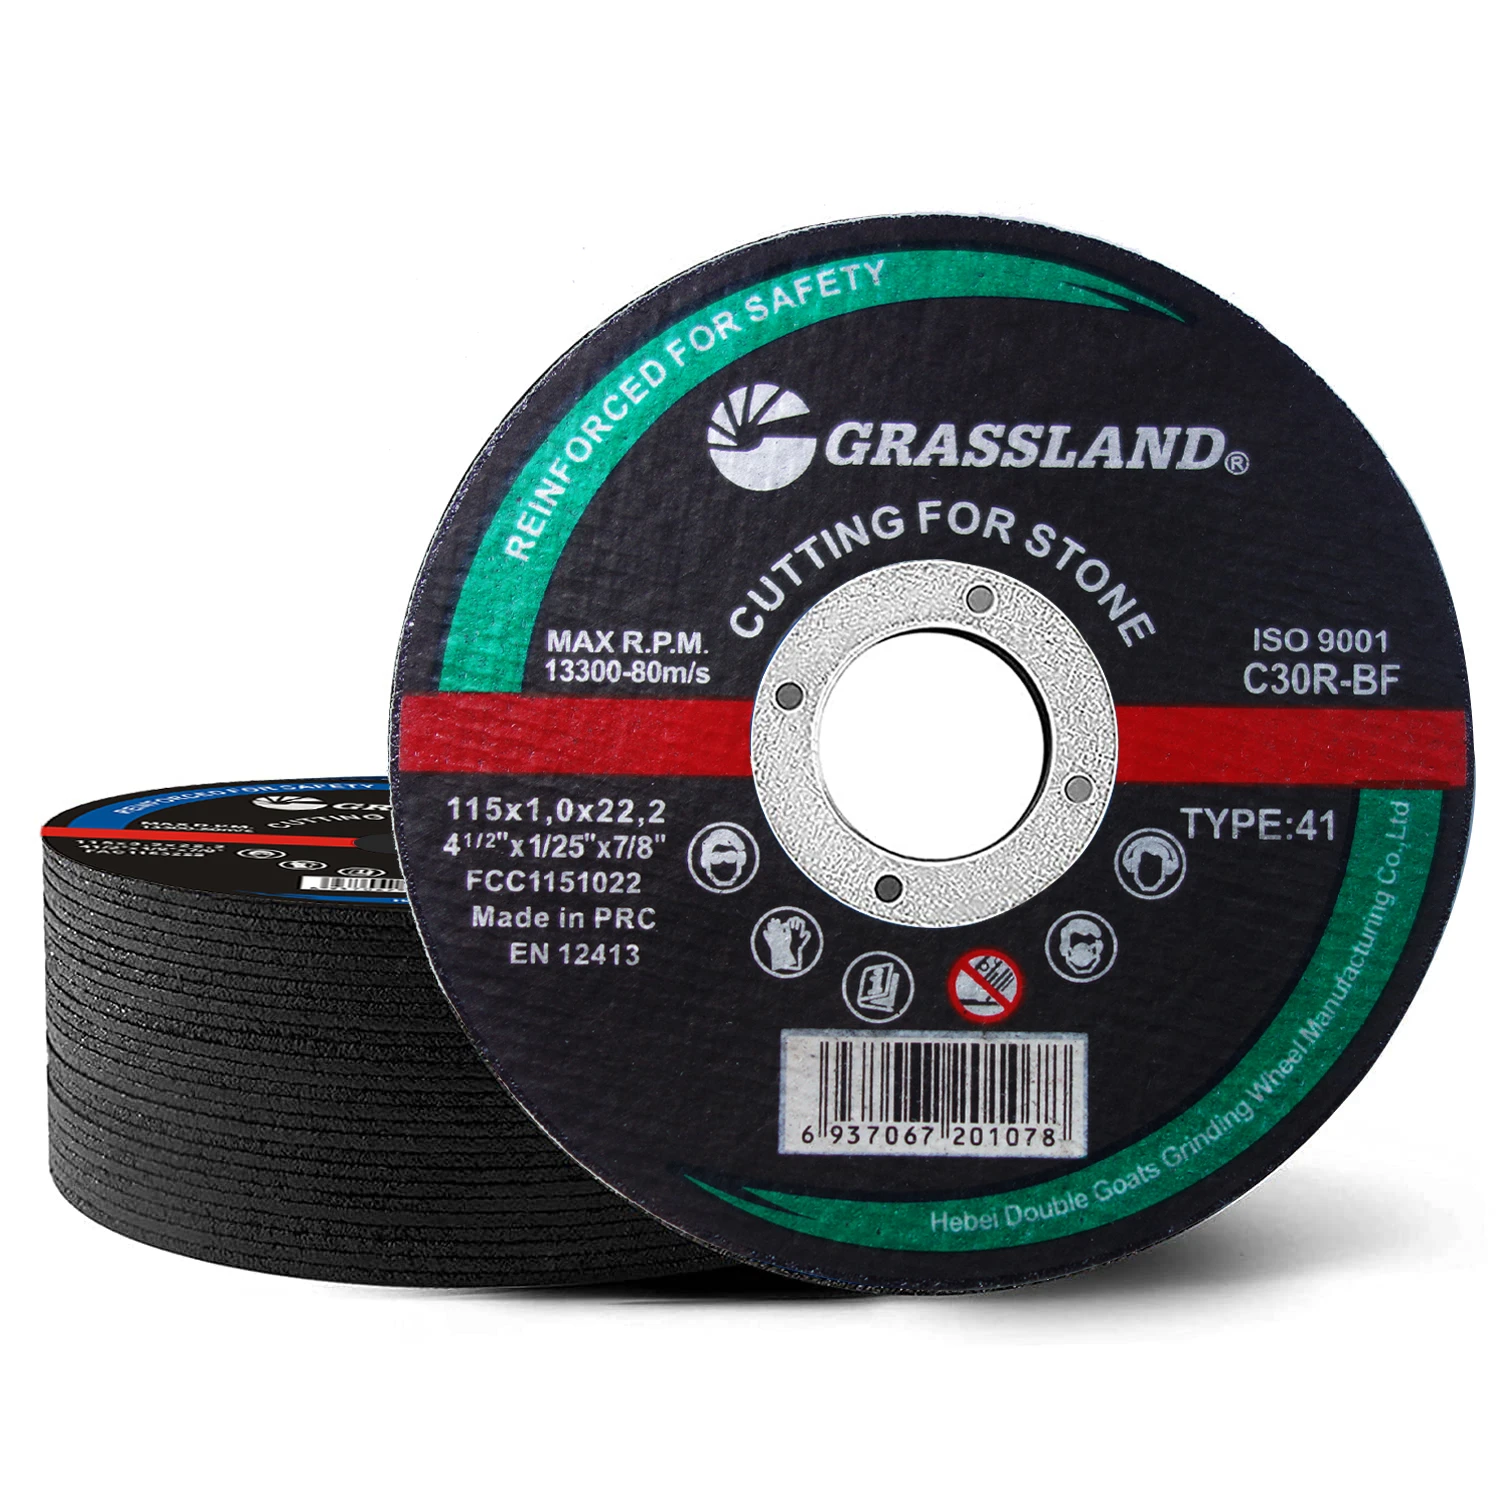
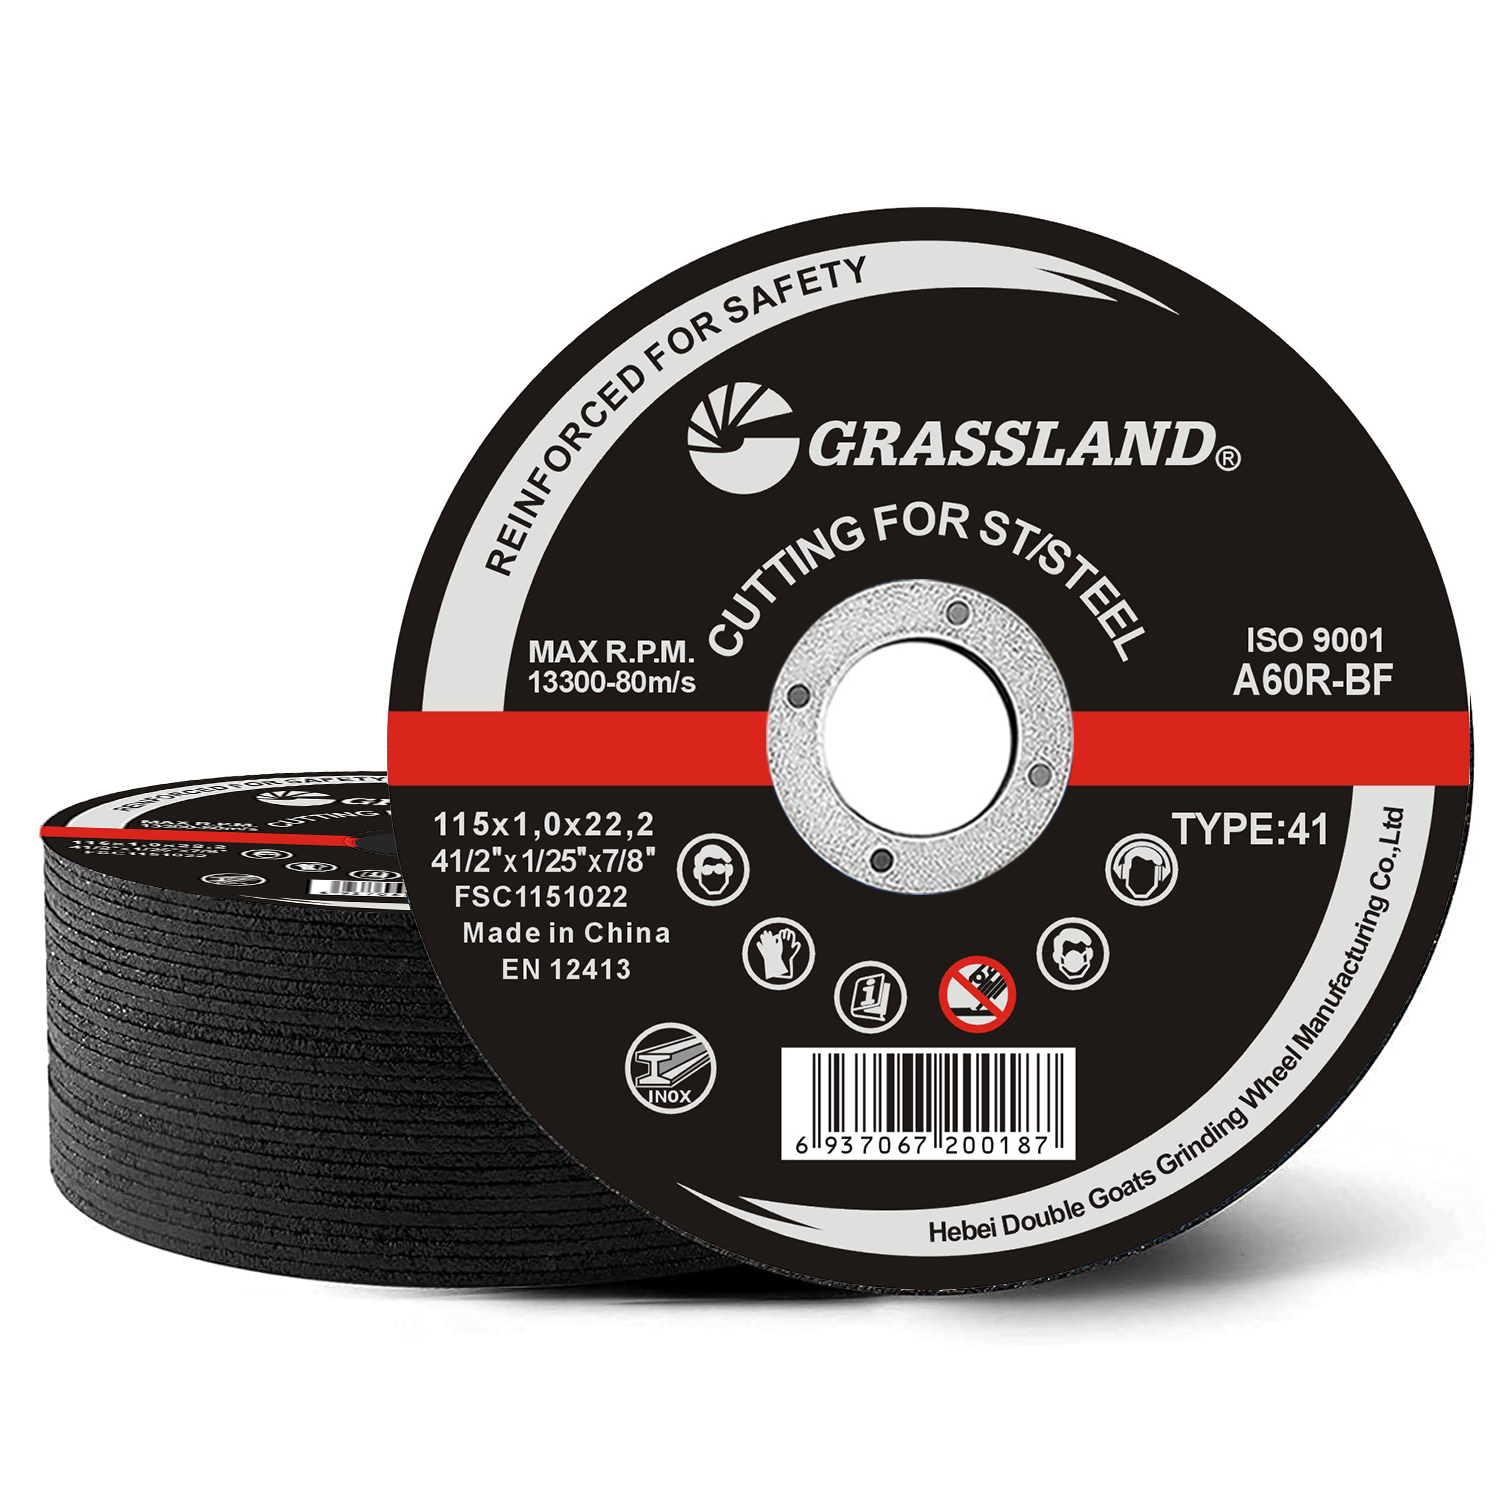
A diamond grinding disc, also known as a diamond cutting disc, is a specialized tool typically made of a steel core and embedded with industrial diamonds. These diamonds provide the disc with its superior cutting abilities, allowing it to effectively slice through hard materials such as ceramic, porcelain, granite, and even concrete.
Advantages of Using Diamond Grinding Discs
1. Precision Cutting The diamond particles on the disc allow for clean and precise cuts. This precision is essential for achieving straight edges and maintaining the aesthetic appeal of tiled surfaces.
2. Durability Diamond grinding discs are designed to withstand high levels of wear and tear. Unlike traditional abrasive discs, they maintain their cutting efficiency much longer, which is particularly beneficial for large projects.
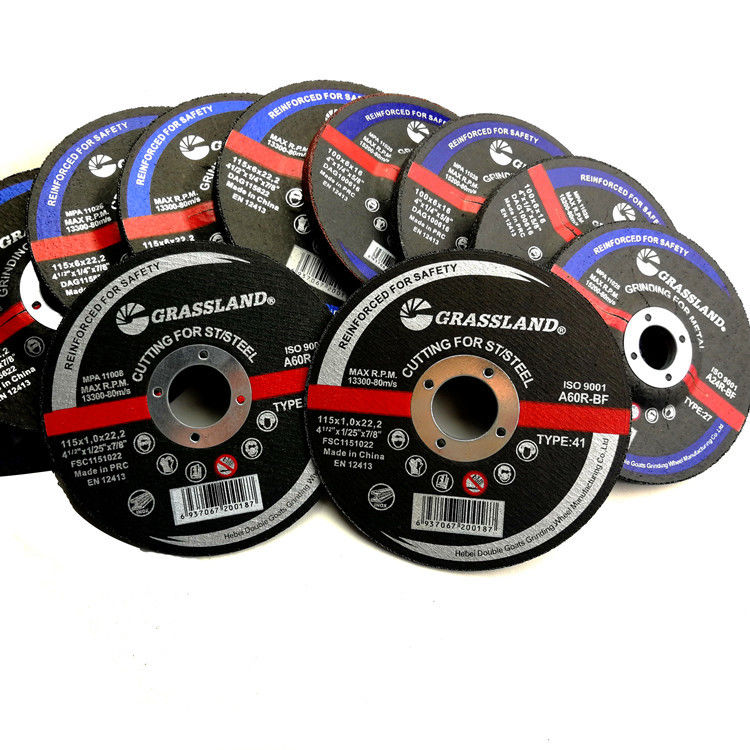
3. Versatility These discs can be used on various materials beyond just ceramic tiles. From porcelain to stone tiles, diamond discs are versatile tools that cater to different surfaces.
4. Reduced Chipping The design of diamond discs minimizes the occurrence of chipping and breaking during the cutting process, which is a common concern when using less specialized tools.
5. Heat Resistance The high quality of diamonds used in these discs makes them heat-resistant, enabling cutting without generating excessive heat that could damage the tiles.
disco de esmeril para cortar azulejo

How to Use a Diamond Grinding Disc for Tile Cutting
Utilizing a diamond grinding disc effectively requires some preparation and technique. Here are the steps to follow
1. Preparation of Tools Before beginning, ensure you have the right size and type of diamond disc for your project. Additionally, safety equipment such as goggles, gloves, and a dust mask should be worn to protect against dust and debris.
2. Marking the Cut Use a pencil or marker to clearly outline where you want to cut. A straightedge can help in achieving a precise line.
3. Mounting the Disc Attach the diamond grinding disc to a suitable power tool, typically a tile cutter or an angle grinder. Ensure it is securely fastened to avoid accidents.
4. Make the Cut Start the tool and gently bring the disc into contact with the tile along the marked line. Apply steady pressure, allowing the diamonds to do the cutting rather than forcing the tool through the tile.
5. Cooling Period If cutting a large number of tiles, allow the tool to cool down periodically to prevent overheating, which can affect both the tool and the tiles.
6. Finishing Touches After the cut is complete, use a tile file or sanding pad to smooth the edges of the cut tile if necessary.
Conclusion
The diamond grinding disc is an indispensable tool for anyone looking to cut tiles accurately and efficiently. Its combination of durability and precision makes it ideal for both professional contractors and DIY enthusiasts. By understanding how to effectively use this tool, you can ensure that your tile projects achieve both functional and aesthetic goals. Whether you are remodeling a bathroom or creating a beautiful tiled entryway, investing in a quality diamond grinding disc can make all the difference in your tile cutting experience.
Post time:Dec - 11 - 2024