How to Clean Flap Discs A Step-by-Step Guide
Flap discs are essential tools in metalworking, woodworking, and various DIY projects. They provide an efficient means of grinding, blending, and finishing surfaces. However, like all tools, flap discs can become clogged with debris and dust, which reduces their effectiveness. Proper maintenance extends their lifespan and ensures optimal performance. Here’s a step-by-step guide on how to clean flap discs effectively.
Understanding Flap Discs
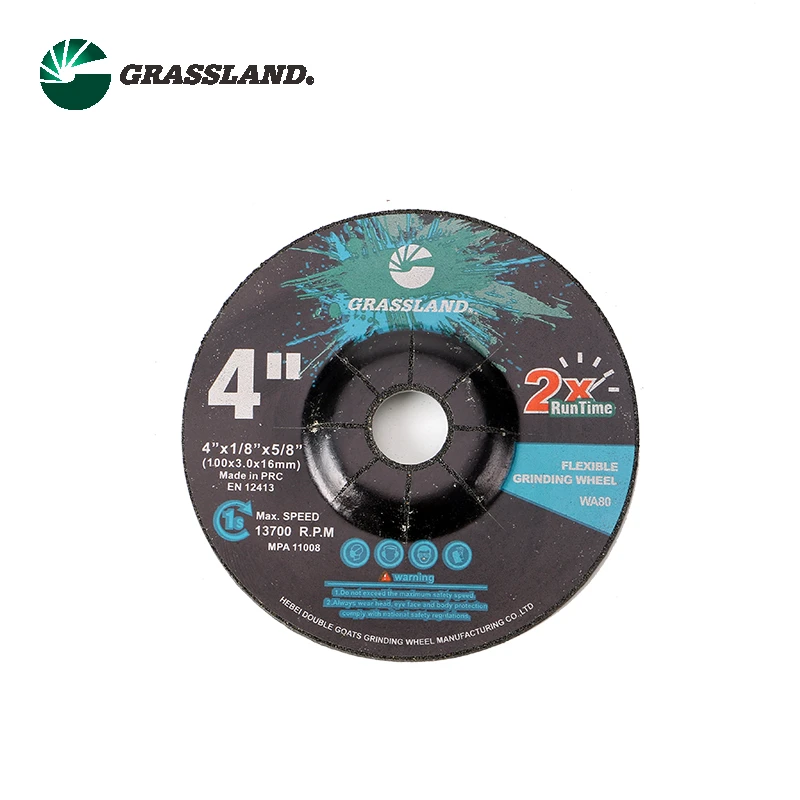
Before diving into the cleaning process, it’s important to understand what flap discs are. Made from overlapping sheets of abrasive material adhered to a backing, these discs are designed to wear down evenly and provide a smooth finish. While they’re durable, they can accumulate dust, metal shavings, and other contaminants over time. Regular cleaning can help maintain their cutting efficiency.
Why Clean Flap Discs?
Cleaning your flap discs is vital for several reasons
1. Efficiency A clogged flap disc cannot grind effectively, meaning your work will take longer and require more effort. 2. Longevity Regular maintenance can prolong the life of your discs, saving you money in the long run. 3. Quality of Work Clean tools result in better finishes, which is crucial for professional and aesthetic projects.
Step-by-Step Cleaning Process
1. Gather Your Supplies Before starting, gather the necessary supplies. You will need - A soft-bristle brush or a wire brush - Compressed air (optional) - A clean cloth - Safety gear (gloves, eye protection)
2. Remove the Flap Disc If possible, detach the flap disc from the power tool. This ensures that you can clean it thoroughly without damaging the tool or injuring yourself.
how to clean flap disc

3. Inspect the Disc Take a moment to inspect the flap disc for any noticeable wear, damage, or excessive clogging. If the disc is severely worn or damaged, it may be time to replace it instead of cleaning.
4. Brush Off Debris Using the soft-bristle brush, gently brush the surface of the flap disc. This helps remove surface debris and any buildup that may have accumulated between the flaps. For heavily clogged discs, a wire brush may be more effective, but be cautious not to damage the abrasive material.
5. Use Compressed Air If you have access to a compressor, use compressed air to blow out any remaining debris from between the flaps. Hold the disc at a safe distance to avoid damage and ensure effective cleaning.
6. Wipe with a Cloth After brushing and using compressed air, take a clean cloth and wipe the surface of the disc. This will help remove any residual dust or oils that may have accumulated from use.
7. Inspect Again Once cleaned, inspect the flap disc again to ensure it is free of debris and in good condition. If there are still clogs or signs of excessive wear, consider replacing it.
8. Reattach the Flap Disc Once cleaning is complete, reattach the flap disc to your tool properly, ensuring it is secured according to the manufacturer's guidelines.
9. Regular Maintenance To prevent excessive buildup in the future, make cleaning your flap discs a regular part of your tool maintenance routine. Depending on your usage frequency, weekly or monthly cleaning may be beneficial.
Conclusion
Cleaning flap discs is a simple yet effective way to maintain their performance and longevity. By incorporating regular cleaning into your routine, you can ensure that your flap discs continue to serve you well in your projects. Remember, a clean tool is an efficient tool, so take the time to care for your flap discs properly!
Post time:Dec - 04 - 2024


