How to Remove Paint from Aluminum Wheels
Removing paint from aluminum wheels can be a bit challenging, but with the right approach and materials, you can restore your wheels to their original glory. Whether you’re dealing with overspray from a nearby painting project or simply want to refresh the appearance of your wheels, this guide will provide you with the necessary steps to safely and effectively remove paint from aluminum.
Gather Your Supplies
Before you begin the process, gather the following materials - Paint stripper - Plastic scraper or spatula - Sandpaper (various grits 80, 120, and 220) - Degreaser or soap and water - Clean cloths or rags - Protective gloves - Eye protection (goggles) - Mask or respirator (if necessary) - Water for rinsing
Step 1 Prepare the Workspace
Start by choosing a well-ventilated area to work in. If you're working indoors, ensure that windows are open, and consider using fans to increase airflow. If it’s an outdoor project, make sure the weather is suitable and avoid windy days to prevent debris from sticking to the wheels.
Step 2 Clean the Wheels
Before applying any paint remover, it’s essential to clean the wheels. Use a degreaser or a mixture of soap and water to remove dirt, grime, and brake dust. This ensures the paint remover works effectively and evenly. Rinse thoroughly with clean water and dry the wheels with a cloth.
Step 3 Apply Paint Stripper
Once the wheels are clean and dry, it’s time to apply the paint stripper. Carefully read the instructions on the paint stripper to understand the application process. Use a brush or cloth to evenly apply a generous layer of the stripper onto the painted areas of the wheel. Allow the paint stripper to sit for the recommended time (usually between 15 to 30 minutes) to soften the paint.
how to remove paint from aluminum wheels
Step 4 Scrape Off the Paint
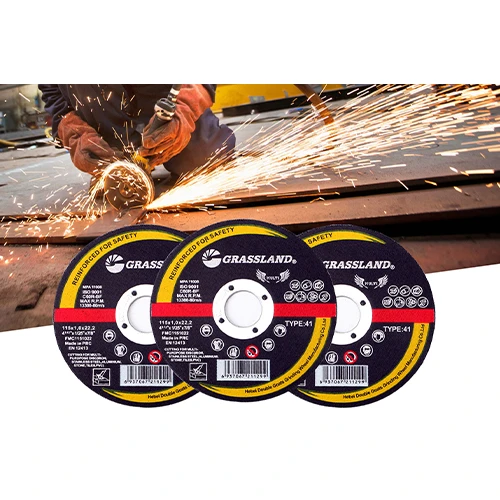
After the paint has softened, use a plastic scraper or spatula to gently scrape off the paint. Avoid using metal scrapers, as they can scratch the aluminum surface. Work slowly and methodically to avoid damaging the wheel. If you encounter stubborn paint, you may need to reapply the paint stripper and let it sit for a bit longer.
Step 5 Sand the Surface
Once most of the paint has been removed, you might notice some residue still clinging to the aluminum surface. This is where sandpaper comes in. Start with a coarser grit (80 to 120) to remove any remaining paint. Be cautious and apply light pressure to avoid scratching the aluminum. After you’ve removed the bulk of the residue, switch to a finer grit (220) for smoothing out the surface.
Step 6 Clean Again
After sanding, it’s essential to clean the wheels once more. Use a degreaser or soap and water to ensure all paint dust and residue is removed. Rinse thoroughly with clean water and dry the wheels with a cloth. Ensure that no dust or debris remains on the surface, as this could interfere with any further treatment or painting.
Step 7 Finishing Touches
If you plan to repaint or clear coat the wheels after the paint removal, follow the appropriate steps for preparation. If you are satisfied with the natural look of the aluminum, consider applying a protective sealant to prevent oxidation and maintain the gleam of your wheels.
Conclusion
Removing paint from aluminum wheels can be a straightforward task with the right technique and tools. By following these detailed steps, you can effectively restore your wheels and enhance the overall appearance of your vehicle. Always remember to wear protective gear and work in a safe environment to ensure the best results. Happy restoring!
Post time:Jan - 02 - 2025


