The Ultimate Guide to Sanding Discs for 9-Inch Grinders
When it comes to surface preparation and finishing in woodworking, metalworking, or DIY projects, a 9-inch grinder equipped with the right sanding disc can make a world of difference. The effectiveness of a sanding operation largely depends on the choice of disc, the material being worked on, and the specifics of the project. This article serves as a comprehensive guide on selecting, using, and caring for sanding discs for 9-inch grinders.
Understanding Sanding Discs
Sanding discs come in various shapes, sizes, and grit levels, making them versatile tools for different applications. For a 9-inch grinder, the discs are typically designed to accommodate the grinder's power and speed. The grit level indicates the coarseness of the disc, which directly affects the sanding performance. Lower grit numbers (such as 40 or 60) are coarse and used for aggressive material removal, while higher numbers (such as 120 or 220) are finer and suitable for smoothing surfaces.
Choosing the Right Sanding Disc
1. Material Type The first consideration when choosing a sanding disc is the material you are working with. For wood, aluminum oxide discs are commonly used because they efficiently cut through the wood fibers without clogging. For metal surfaces, zirconia alumina or ceramic discs are favored for their durability and resistance to wear.
2. Grit Size As mentioned earlier, selecting the right grit size is crucial. For initial rough shaping, coarser discs are preferable. However, for finishing touches, you should switch to finer grits to achieve a smooth surface. Usually, a progression from a 60-grit disc to a 120-grit disc works well.
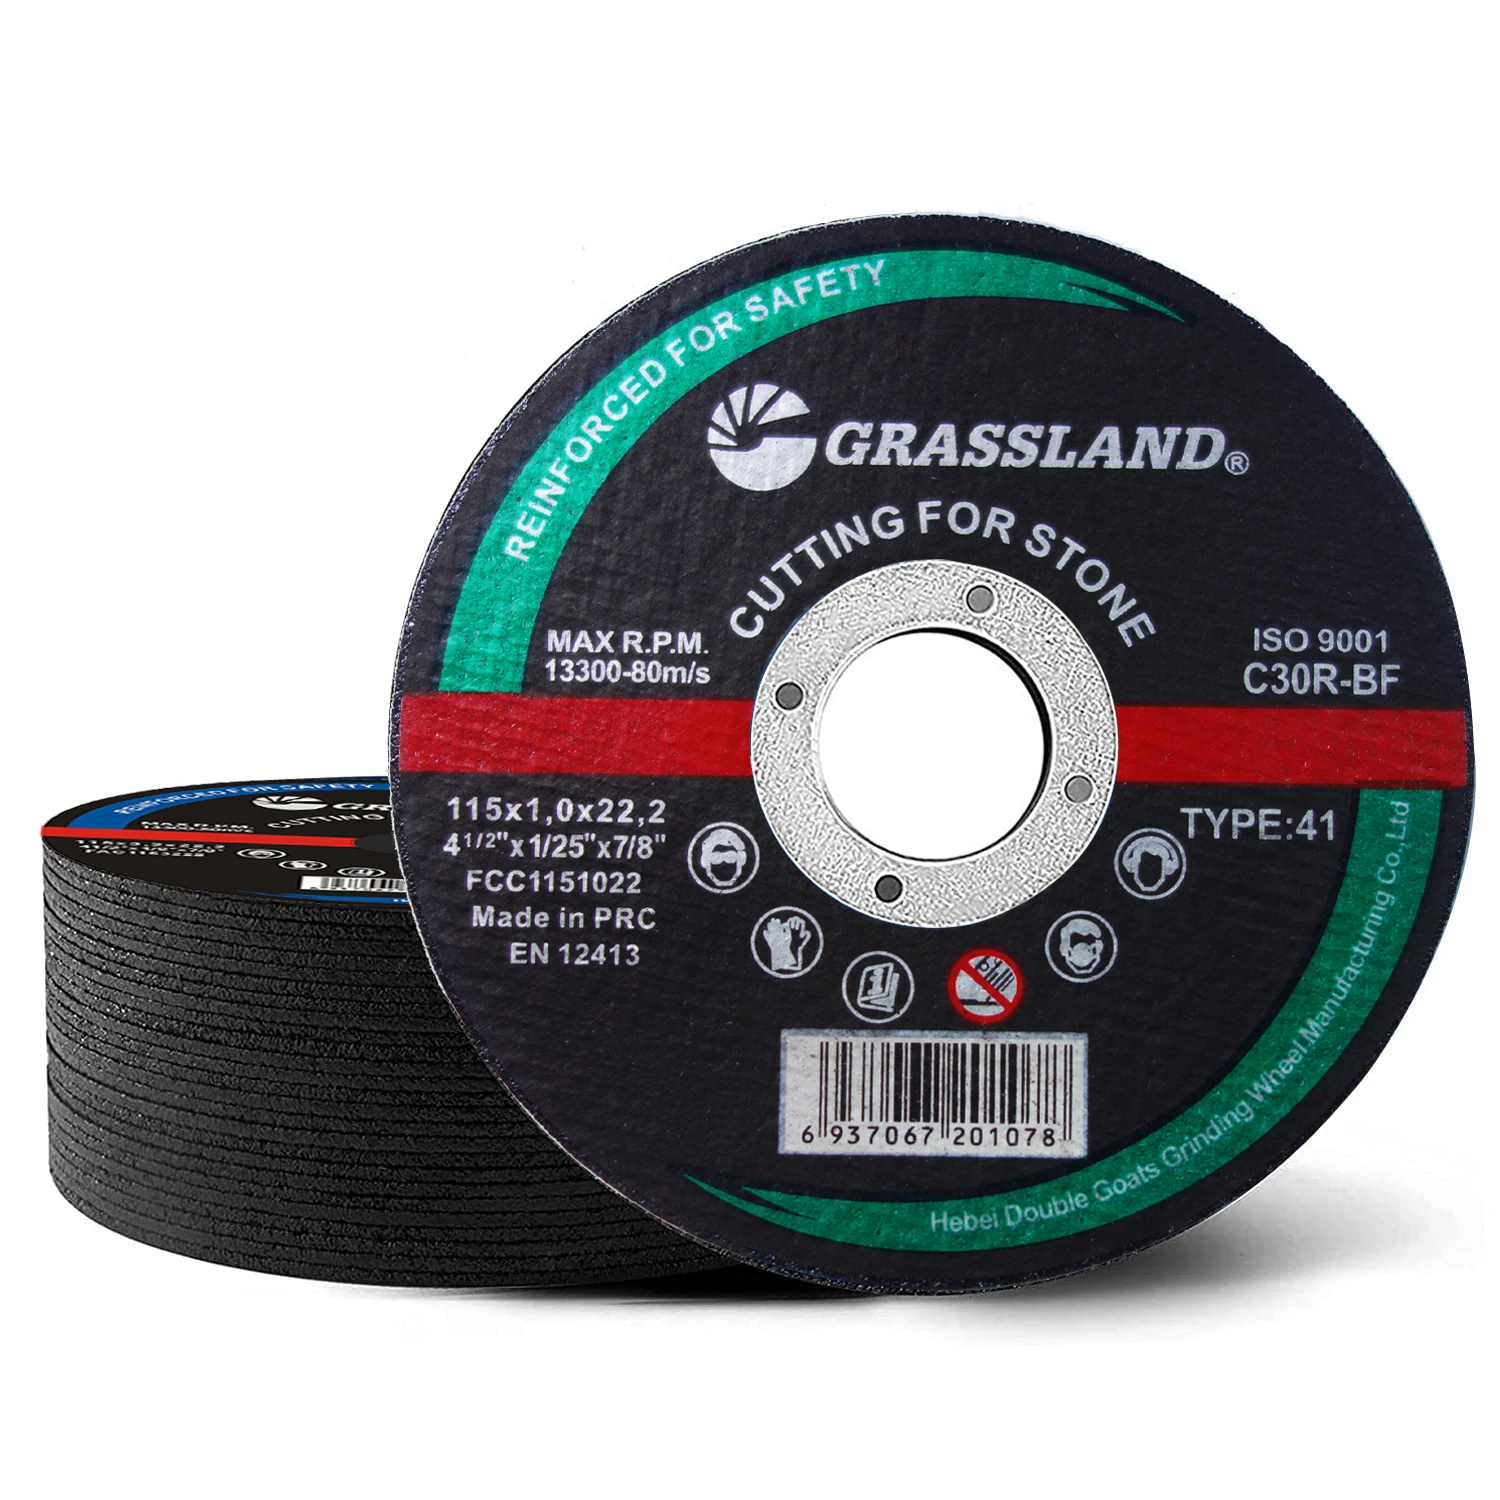
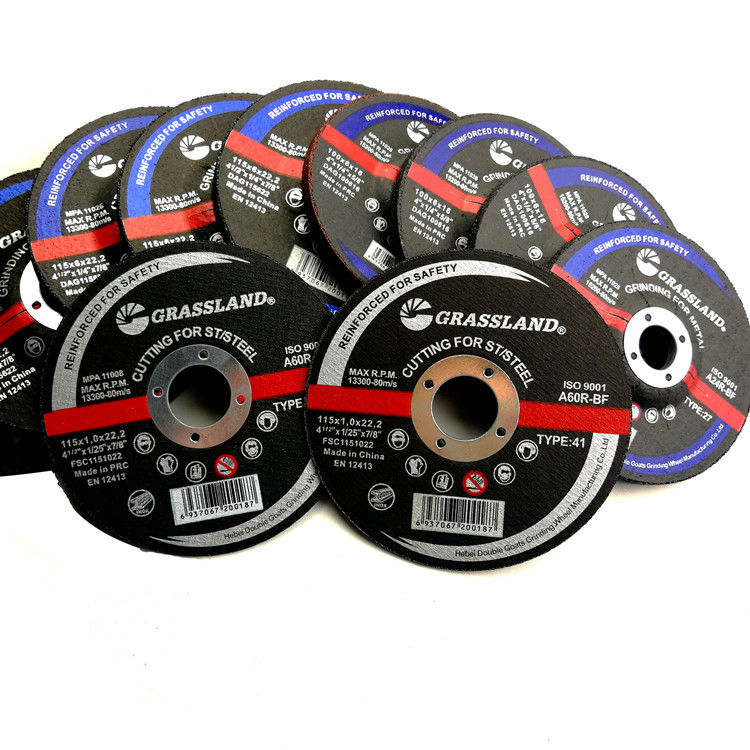
3. Disc Type There are different types of sanding discs available, including slap discs, flap discs, and paper discs. Slap discs, which are often made from fiberglass, are very robust and suitable for heavy-duty tasks. Flap discs consist of multiple layers of sandpaper and are excellent for both grinding and finishing due to their versatility.
Using Sanding Discs Effectively
To achieve the best results while using sanding discs on a 9-inch grinder, here are some handy tips
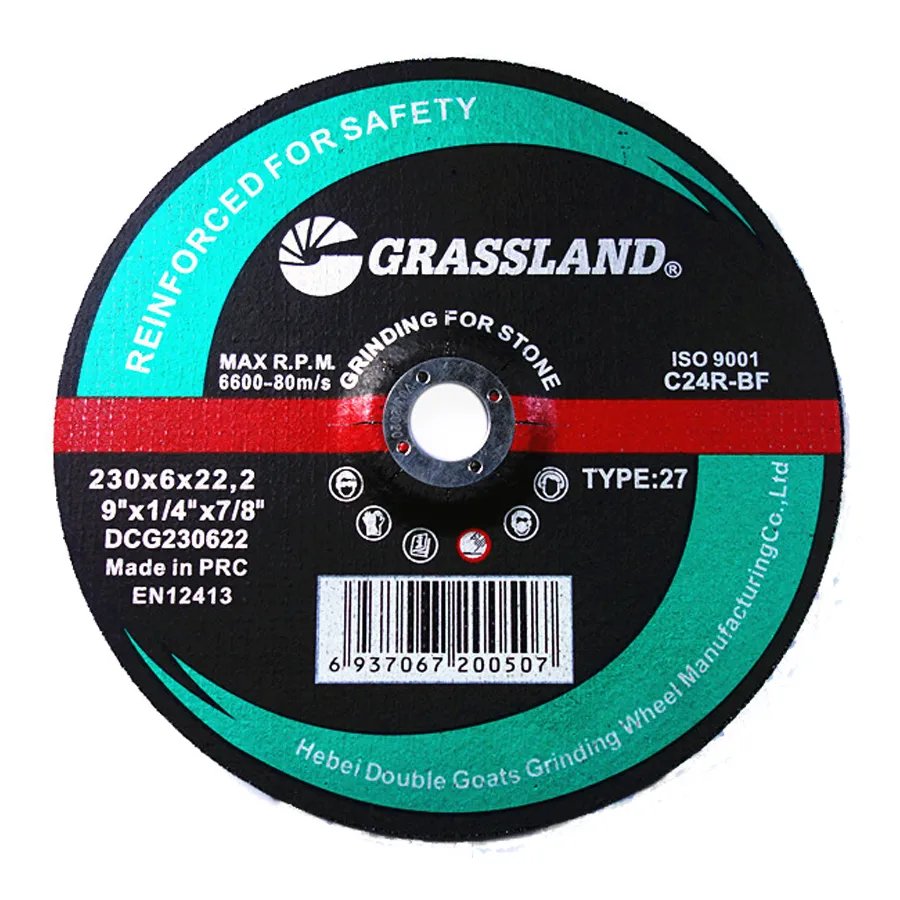
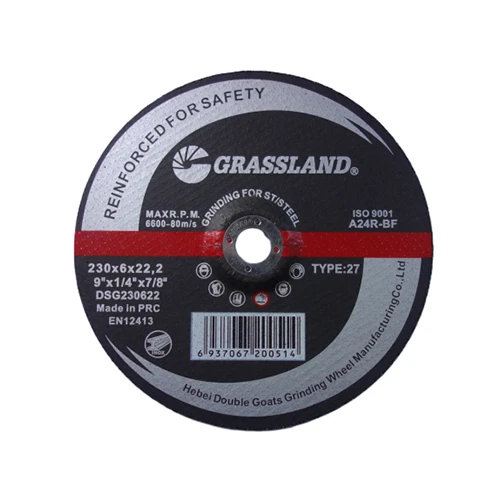
sanding disc for 9 inch grinder
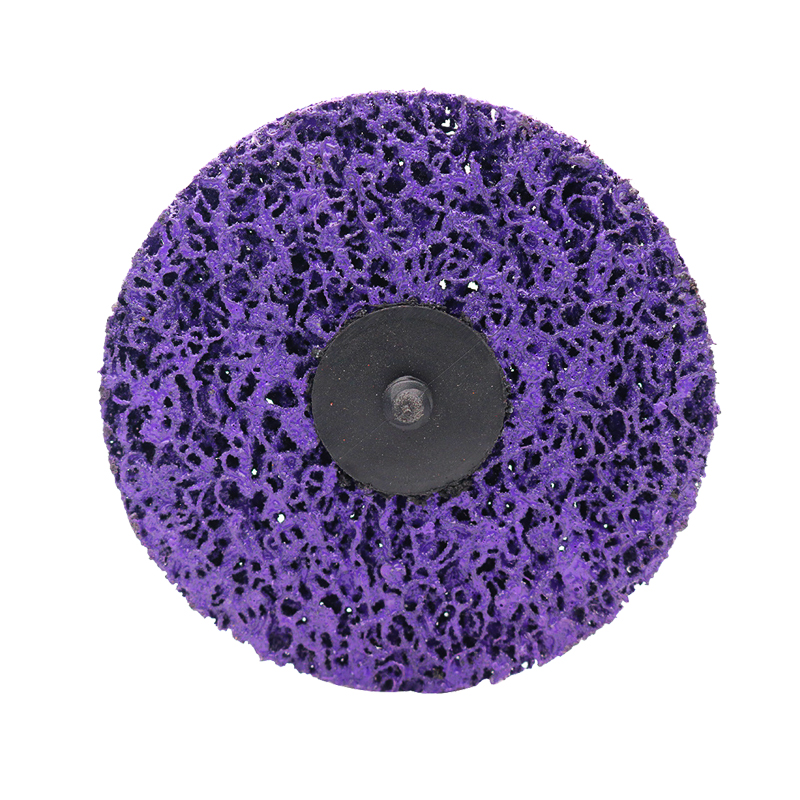
- Speed Setting Adjust the grinder's speed according to the disc and material type. High speeds are suitable for hard materials, while lower speeds reduce the risk of burning softer materials.
- Pressure Application Let the disc do the work. Applying excessive pressure can lead to uneven sanding and decrease the lifespan of the disc. Instead, maintain a steady, moderate pressure for optimal results.
- Movement Technique Use a consistent movement pattern, such as back-and-forth or circular motions. Avoid staying in one spot for prolonged periods to minimize the risk of gouging or overheating the material.
- Safety Gear Always wear safety goggles, a dust mask, and hearing protection when using a grinder. The process generates dust and debris, which can be harmful if inhaled or if it gets into your eyes.
Maintenance and Care
Proper care and maintenance of sanding discs can extend their lifespan and improve performance. After use, clean the discs to remove dust and debris. Store them in a cool, dry place away from direct sunlight to prevent deterioration of the adhesive layer that holds the abrasive material.
If you notice that the disc is becoming less effective, it might be time to replace it. Factors like decreased cutting speed, excessive dust generation, or visible wear indicate that a new disc is needed.
Conclusion
Choosing the right sanding disc for your 9-inch grinder can significantly affect the quality of your finish and the efficiency of your work. By understanding the types of discs available, their appropriate uses, and how to maintain them, you can enhance your sanding experience and achieve professional results in your projects. Whether you are a professional tradesman or an enthusiastic DIYer, investing time in selecting and using sanding discs wisely will pay off in the quality of your work.
Post time:Dec - 05 - 2024


