Stripping Paint with a Grinder A Comprehensive Guide
Stripping paint can often be one of the most labor-intensive steps in a renovation or restoration project. While there are various methods to remove old paint, using a grinder can be one of the most efficient and effective approaches. In this article, we will explore how to strip paint with a grinder, the tools needed, safety precautions, and tips for achieving the best results.
Understanding the Process
Using a grinder to strip paint involves attaching a specialized paint stripping disc or flap wheel to an angle grinder. This power tool spins at high RPM (revolutions per minute), allowing it to quickly remove layers of paint from surfaces. It works well on metals, wood, and masonry, but it’s essential to choose the right disc for your specific project.
Tools Needed
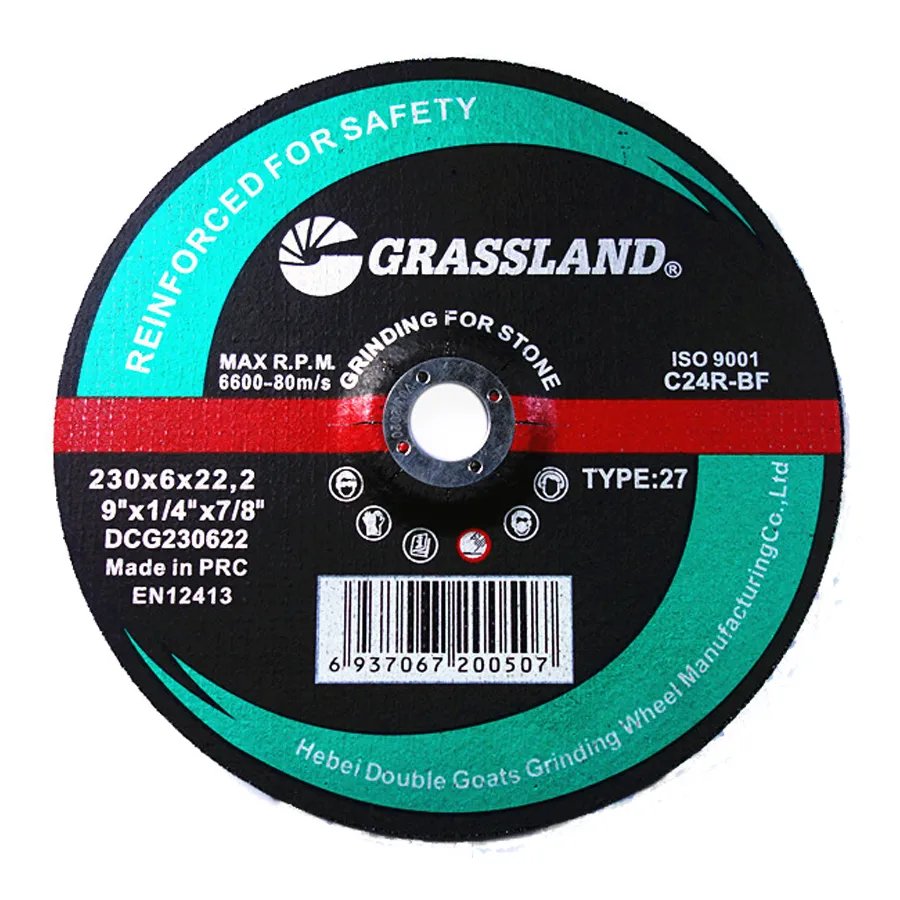
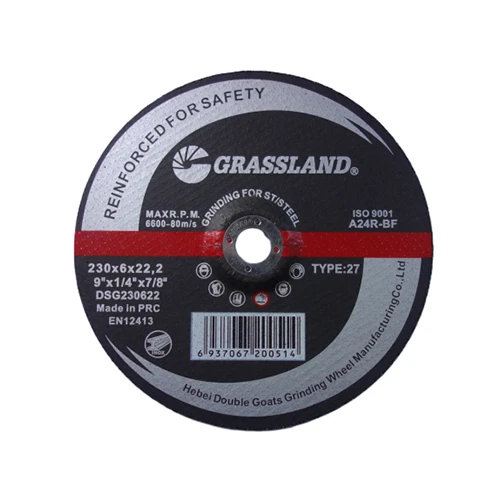
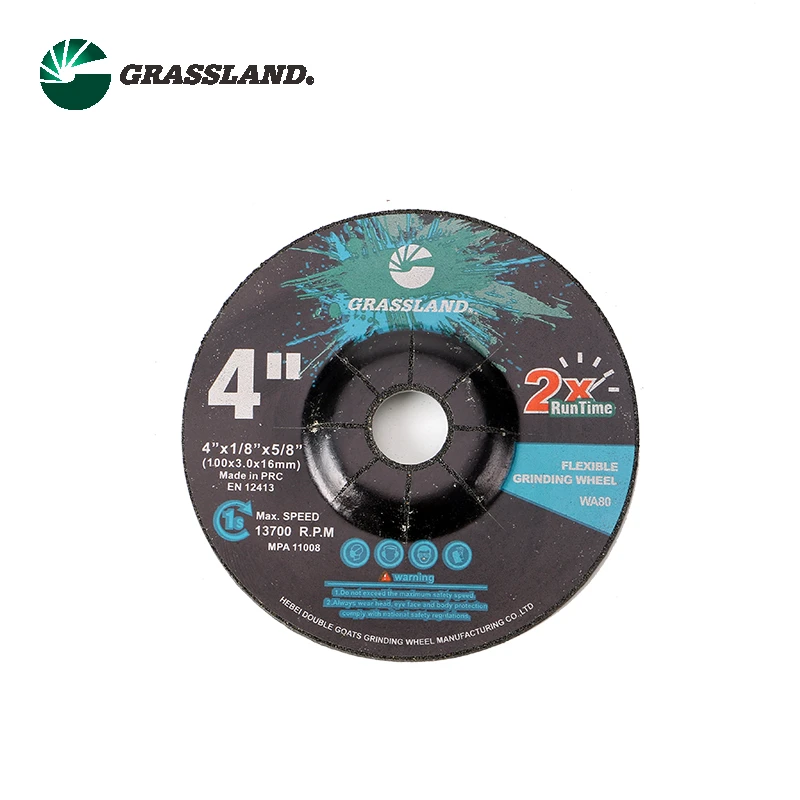
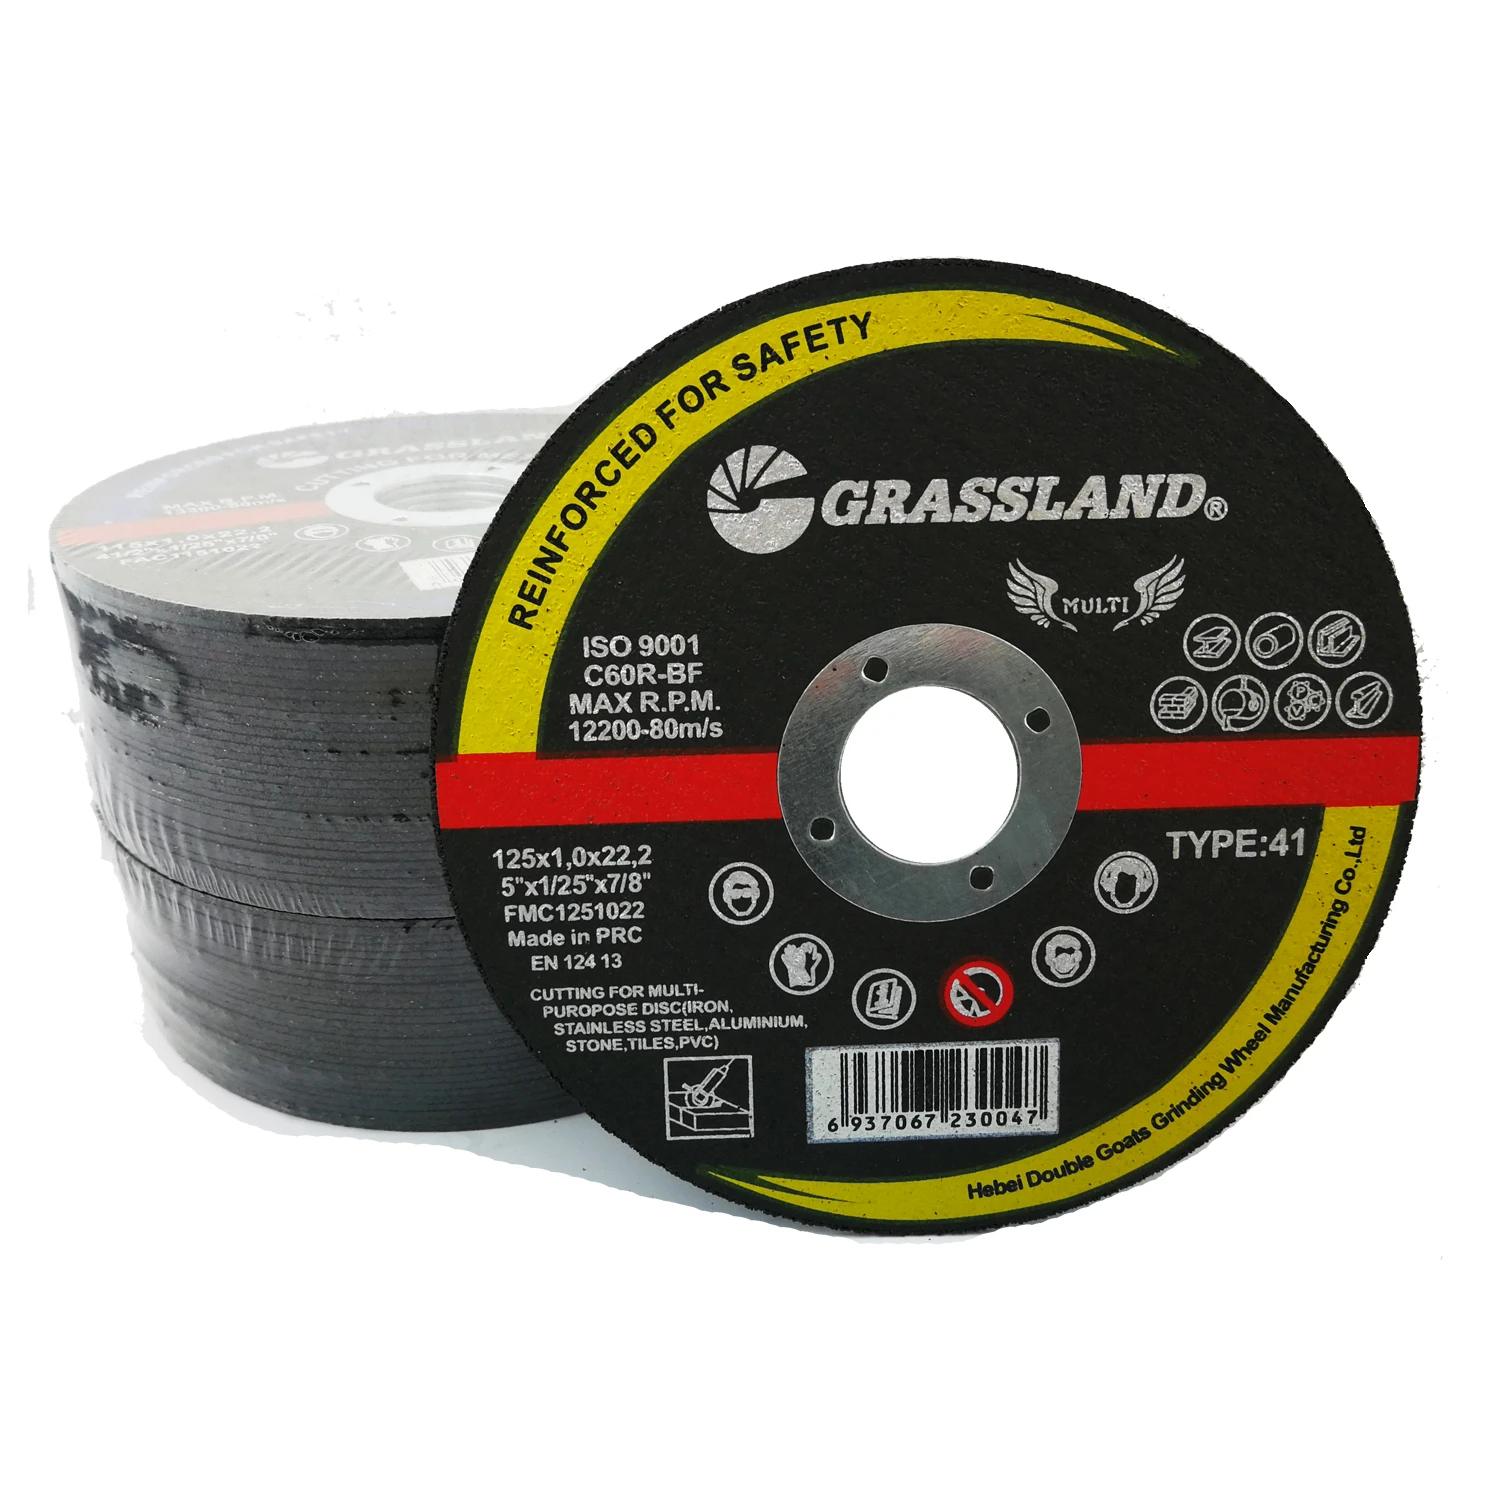
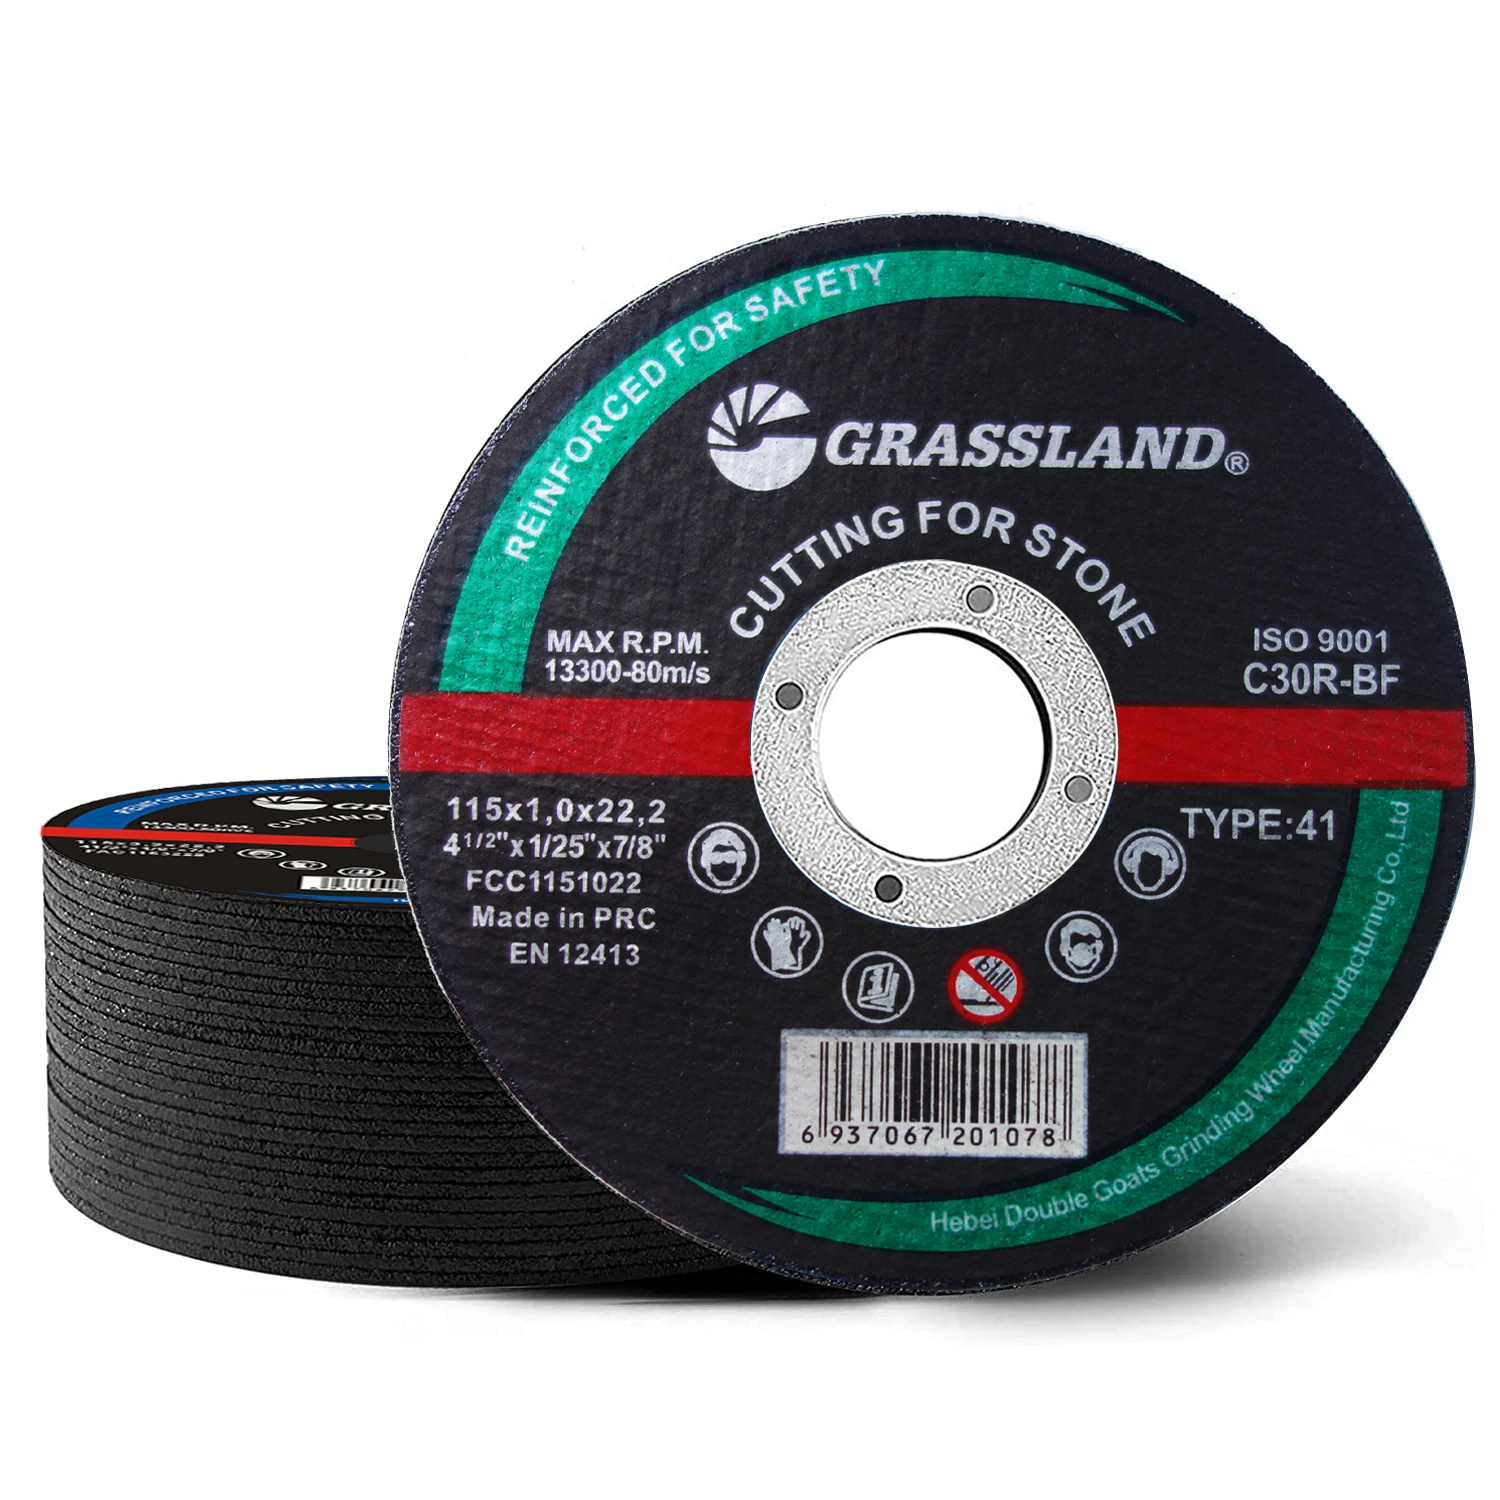
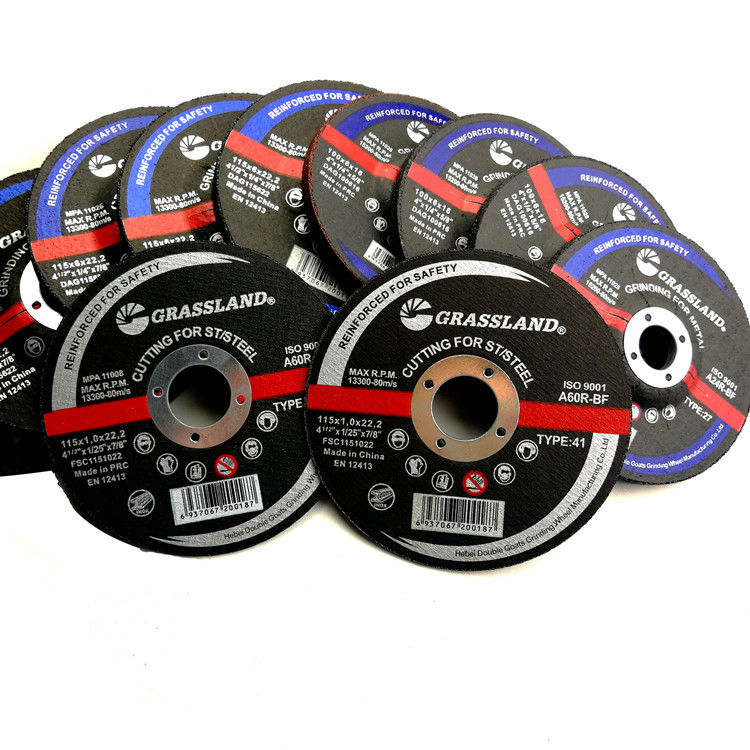
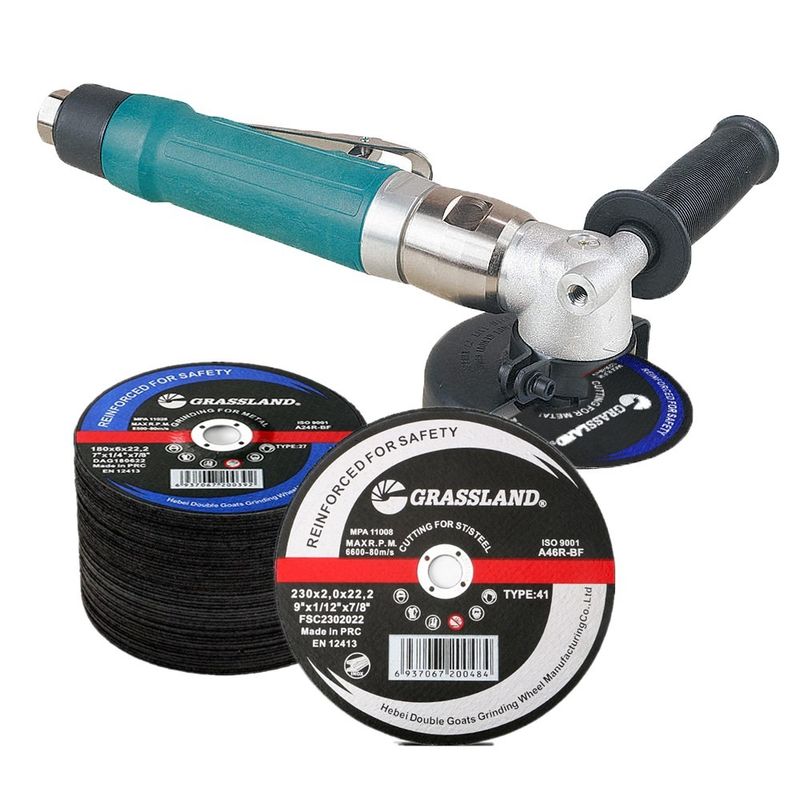
1. Angle Grinder Ensure you have a good quality angle grinder; a 4.5-inch model is often suitable for most projects. 2. Paint Stripping Discs Select discs specifically designed for paint removal. Options include - Paint Stripping Wheels Often made of nylon, they are ideal for softer surfaces. - Metal Bonded Grinding Discs Good for tougher surfaces but can damage softer materials. 3. Safety Gear Always prioritize safety. Use safety glasses, gloves, and a dust mask to protect against inhaling dust and debris. 4. Work Surface Ensure you have a stable surface to work on, and use clamps if necessary to secure your items.
Preparation
Preparation is key when stripping paint. Begin by cleaning the surface you're working on to remove dirt and grime. This ensures that the grinder can work efficiently without obstruction. If you’re working with wood, check for any nails or screws that could damage the grinding disc.
Before starting, it's also advisable to test your chosen disc on a small, inconspicuous area to ensure it won't damage the substrate underneath the paint.
stripping paint with grinder
The Stripping Process
1. Set Up the Grinder Attach your chosen disc securely to the angle grinder. Make sure everything is tightened and in place. 2. Begin Grinding Start the grinder at a low speed to understand how it interacts with the surface. Gradually increase the speed as you feel comfortable. Keep the grinder moving in smooth, even strokes to avoid creating gouges or uneven surfaces.
3. Maintain an Angle Hold the grinder at a slight angle to the surface for the best results. This method can help prevent the disc from digging too deeply into the material.
4. Check Your Progress Regularly stop and check the surface. This helps prevent over-stripping and allows you to assess how much paint is left.
5. Clean Up After removing the paint, clean up the surface thoroughly. Use a vacuum to remove dust and debris, and consider sanding lightly to smooth out any rough areas.
Safety Precautions
Safety should always be your top priority. The dust created while grinding can be harmful, particularly if you're working with lead-based paints, which require extra precautions. Always work in a well-ventilated area and consider using a respiratory mask. In addition, ensure that you have adequate eye protection, and never wear loose clothing that could get caught in the grinder.
Conclusion
Stripping paint with a grinder is a practical solution for efficiently removing old coatings. By equipping yourself with the right tools, preparing adequately, and following safety guidelines, you can achieve a clean and smooth surface ready for your next project. While it may take a bit of practice to master the technique, the results are well worth the effort. Happy grinding!
Post time:Dec - 14 - 2024


