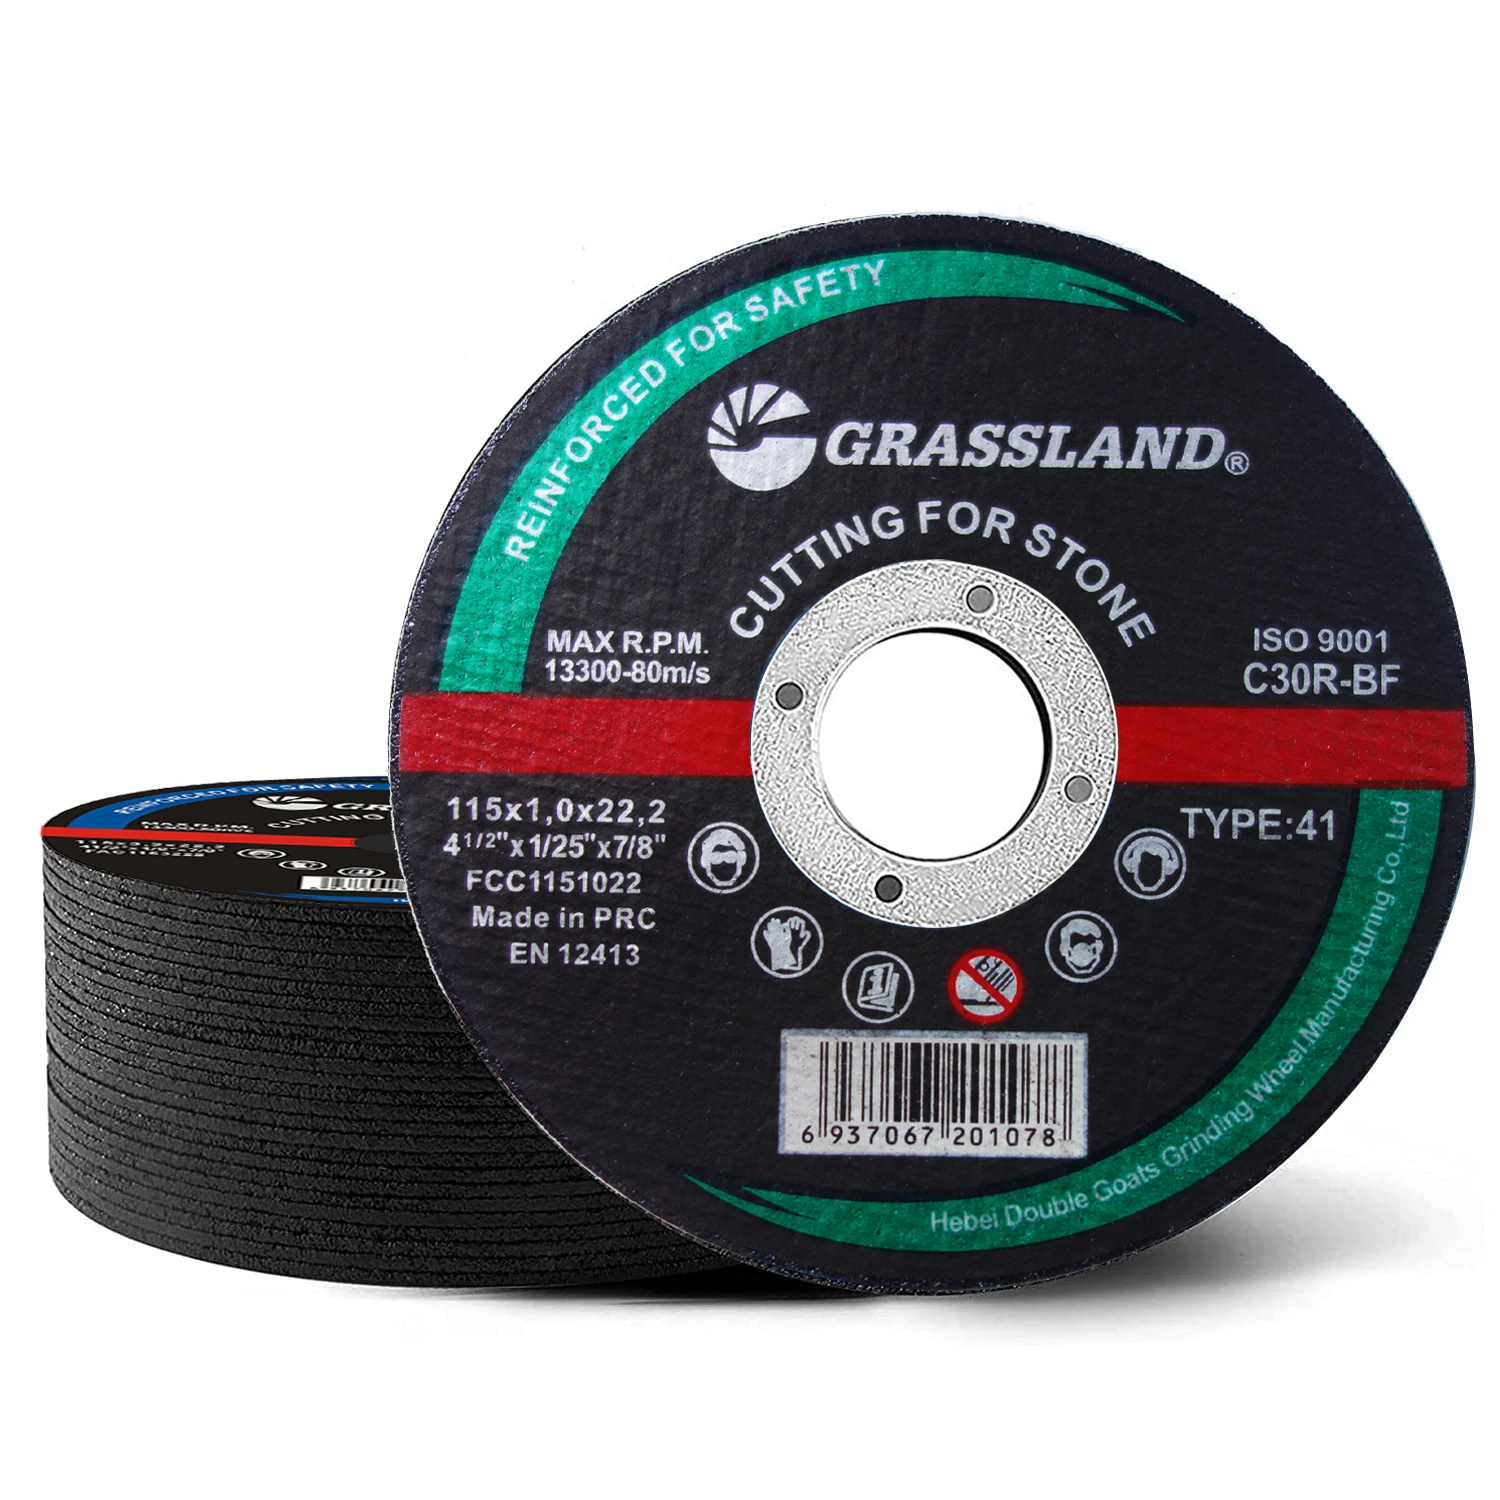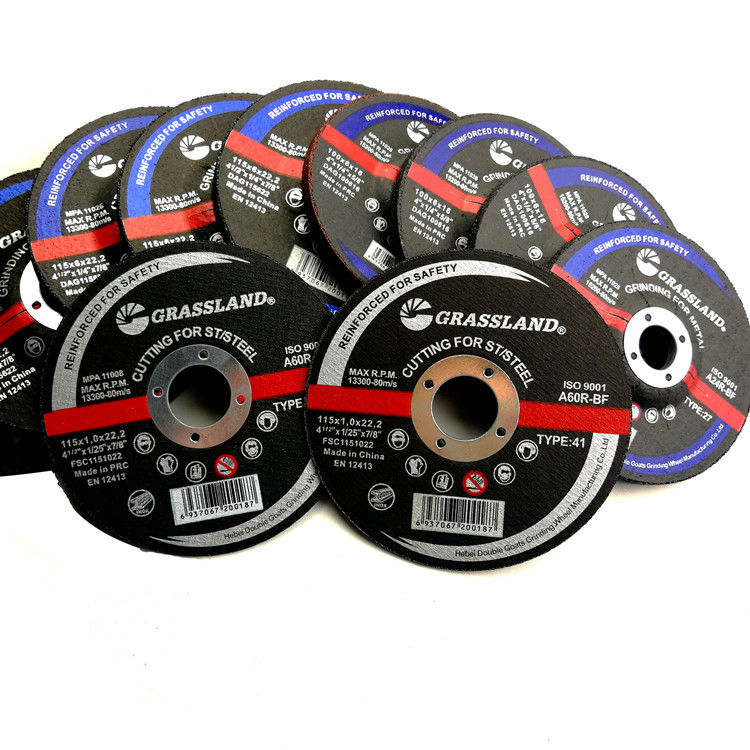
2. Use the Dressing Tool Position the diamond wheel dresser or dressing stone against the spinning disc with firm, even pressure. Move the dresser back and forth across the surface of the disc. This action will remove any debris caught in the disc and expose new abrasive material. 3. Evaluate the Disc Surface After dressing, inspect the disc closely. Look for an even, shiny surface across the cutting edge. This indicates that the disc is sharpened and ready for use. If uneven spots remain, repeat the dressing process until the entire edge is consistent. 4. Test the Disc Reinstall the disc onto the tool, ensuring it is securely fastened. Make a test cut on a scrap piece of material. Observe the cut quality; a properly sharpened disc should produce clean, straight cuts with minimal effort. Professional Tips for Maintenance and Longevity Regular maintenance can significantly extend the lifespan of your cutting discs. Clean your discs after each use to prevent material buildup, which can hinder performance. Store them in a dry, cool place to avoid moisture, which can lead to rust or material degradation. Strict adherence to manufacturer guidelines for disc speed and material compatibility is essential. Using a disc at speeds higher than its rating can lead to fractures or failures. In summary, sharpening a cutting disc is not only about immediate performance but also about ongoing safety and tool preservation. Professionals who adopt regular sharpening and maintenance practices benefit from reliable, efficient cutting tools that enhance their work quality and project outcomes. With proper technique and safety measures in place, sharpening becomes a routine, rewarding task rather than a daunting chore.
Post time:Jan - 17 - 2025


