How to Install a Cutting Disc on a Grinder
Installing a cutting disc on a grinder is a straightforward process, but it is crucial to perform the task correctly to ensure safety and effectiveness during your cutting projects. Whether you're working with metal, masonry, or another material, following the correct steps is essential to avoid accidents and achieve clean cuts. In this article, we will guide you through the process of installing a cutting disc, along with some tips and safety measures to keep in mind.
Gather Your Materials
Before you begin, ensure you have all the necessary materials - A standard angle grinder or bench grinder - A compatible cutting disc - A wrench or spanner for loosening and tightening nuts - Safety equipment, including gloves, goggles, and a dust mask
Step 1 Disconnect the Power
Safety should be your first priority. Before starting any work, disconnect the power supply of your grinder. If you’re using a corded model, unplug it from the outlet. For battery-operated grinders, remove the battery. This prevents accidental startup while you are handling the equipment.
Step 2 Identify the Type of Grinder
Different grinders have different mechanisms for attaching discs. Most angle grinders have a spindle lock that allows you to secure the disc without it spinning while you install or remove it. Check your grinder’s manual to understand the specific requirements for your model.
Step 3 Remove the Existing Disc
If there is already a disc attached, you will need to remove it first. Use the appropriate wrench to loosen the nut holding the disc in place. Press the spindle lock button to prevent the spindle from spinning while you loosen the nut. Once the nut is detached, carefully remove the old disc from the grinder.
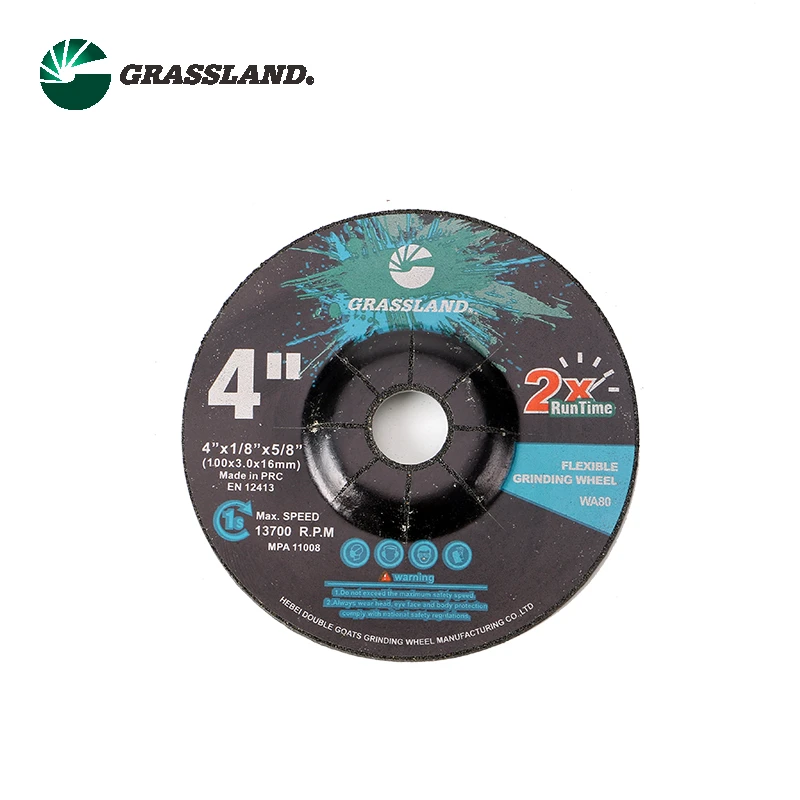
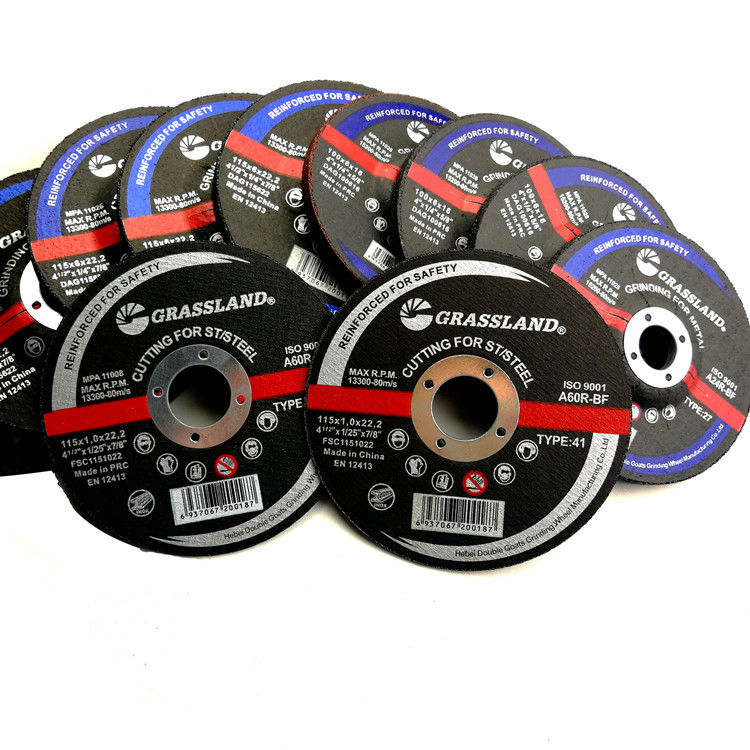
Step 4 Inspect the New Cutting Disc
como se pone un disco de corte

Before installing a new cutting disc, inspect it for any signs of damage such as cracks or chips. A damaged disc can break during use, posing a serious risk of injury. Ensure that the new disc is appropriate for the material you intend to cut. There are different types of cutting discs for various applications, such as metal, stone, or ceramic.
Step 5 Install the New Cutting Disc
Place the new disc onto the spindle. Ensure that it sits flat against the guard, with the intended cutting side facing outward. The disc should be oriented correctly; many discs have arrows indicating the direction of rotation.
Once the disc is positioned correctly, replace the washer if necessary, and screw on the nut. Use the wrench to tighten the nut securely, but be careful not to overtighten it, as this could damage the disc.
Step 6 Reconnect Power and Test
After the disc is installed securely, reconnect the power supply to the grinder. Before you start cutting, hold the grinder away from your body and turn it on to test that the disc spins smoothly without any wobbling or unusual noises. This is crucial to ensure safe operation.
Step 7 Safety First
When you are ready to start cutting, make sure to wear your safety equipment. Safety goggles will protect your eyes from flying debris, gloves will help to grip the grinder securely, and a dust mask can prevent inhalation of harmful particles.
Conclusion
Installing a cutting disc on a grinder is a simple task if done carefully and methodically. Ensuring that you follow safety precautions at every step will help to minimize the risk of accidents during your cutting tasks. With the right tools, a good quality cutting disc, and adherence to safety practices, you can achieve precise cuts in your work. Always refer to the manufacturer’s instructions for your specific grinder model to ensure that you are using the correct procedures. Happy cutting!
Post time:Dec - 05 - 2024