How to Install a Cutting Disc A Step-by-Step Guide
Cutting discs are essential tools in metalworking and construction. They allow users to cut through steel, aluminum, and other materials with precision and ease. However, improper installation of a cutting disc can lead to accidents and suboptimal cutting performance. This guide will walk you through the process of installing a cutting disc safely and efficiently.
Step 1 Gather Your Materials
Before you begin, ensure you have all the necessary materials at hand. You'll need - A cutting disc suitable for your tool and material. - The power tool (usually an angle grinder). - A wrench or the specific tool that came with your power tool for securing the disc. - Safety gear such as goggles, gloves, and a dust mask.
Step 2 Ensure Safety First
Safety is paramount when working with cutting discs. Start by wearing appropriate safety goggles to protect your eyes from debris. Gloves can prevent cuts and scrapes, while a dust mask will help filter out harmful particles in the air. Ensure that your working space is clean and that there are no flammable materials nearby.
Step 3 Disconnect the Power Tool
Before making any changes to your cutting tool, make sure it is unplugged or disconnected from its power source. This step is crucial to prevent accidental startup while you are handling the disc. If you are using a battery-operated tool, remove the battery to ensure complete safety.
Step 4 Remove the Old Cutting Disc
Using the wrench or the tool specific to your power tool, loosen the nut or fastening mechanism holding the old disc. It's usually a counterclockwise motion, but make sure to check your tool's manual for specific instructions. Once the nut is loosened, carefully remove the old disc.
Be cautious while handling the disc as it may have sharp edges. Discard it properly or store it safely if it is still usable for other tasks.
Step 5 Inspect the New Cutting Disc
como se pone un disco de corte

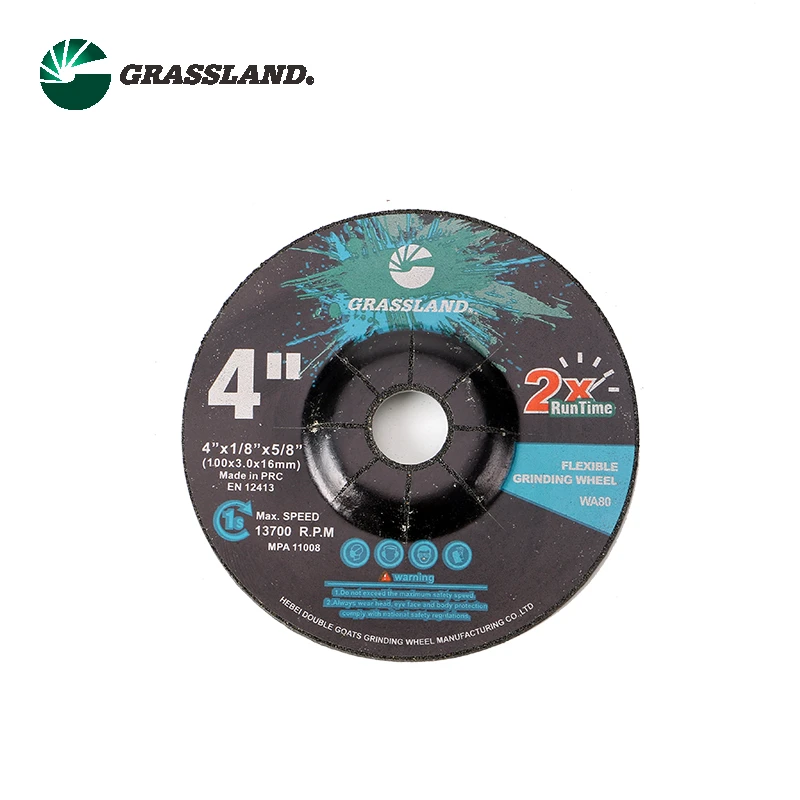
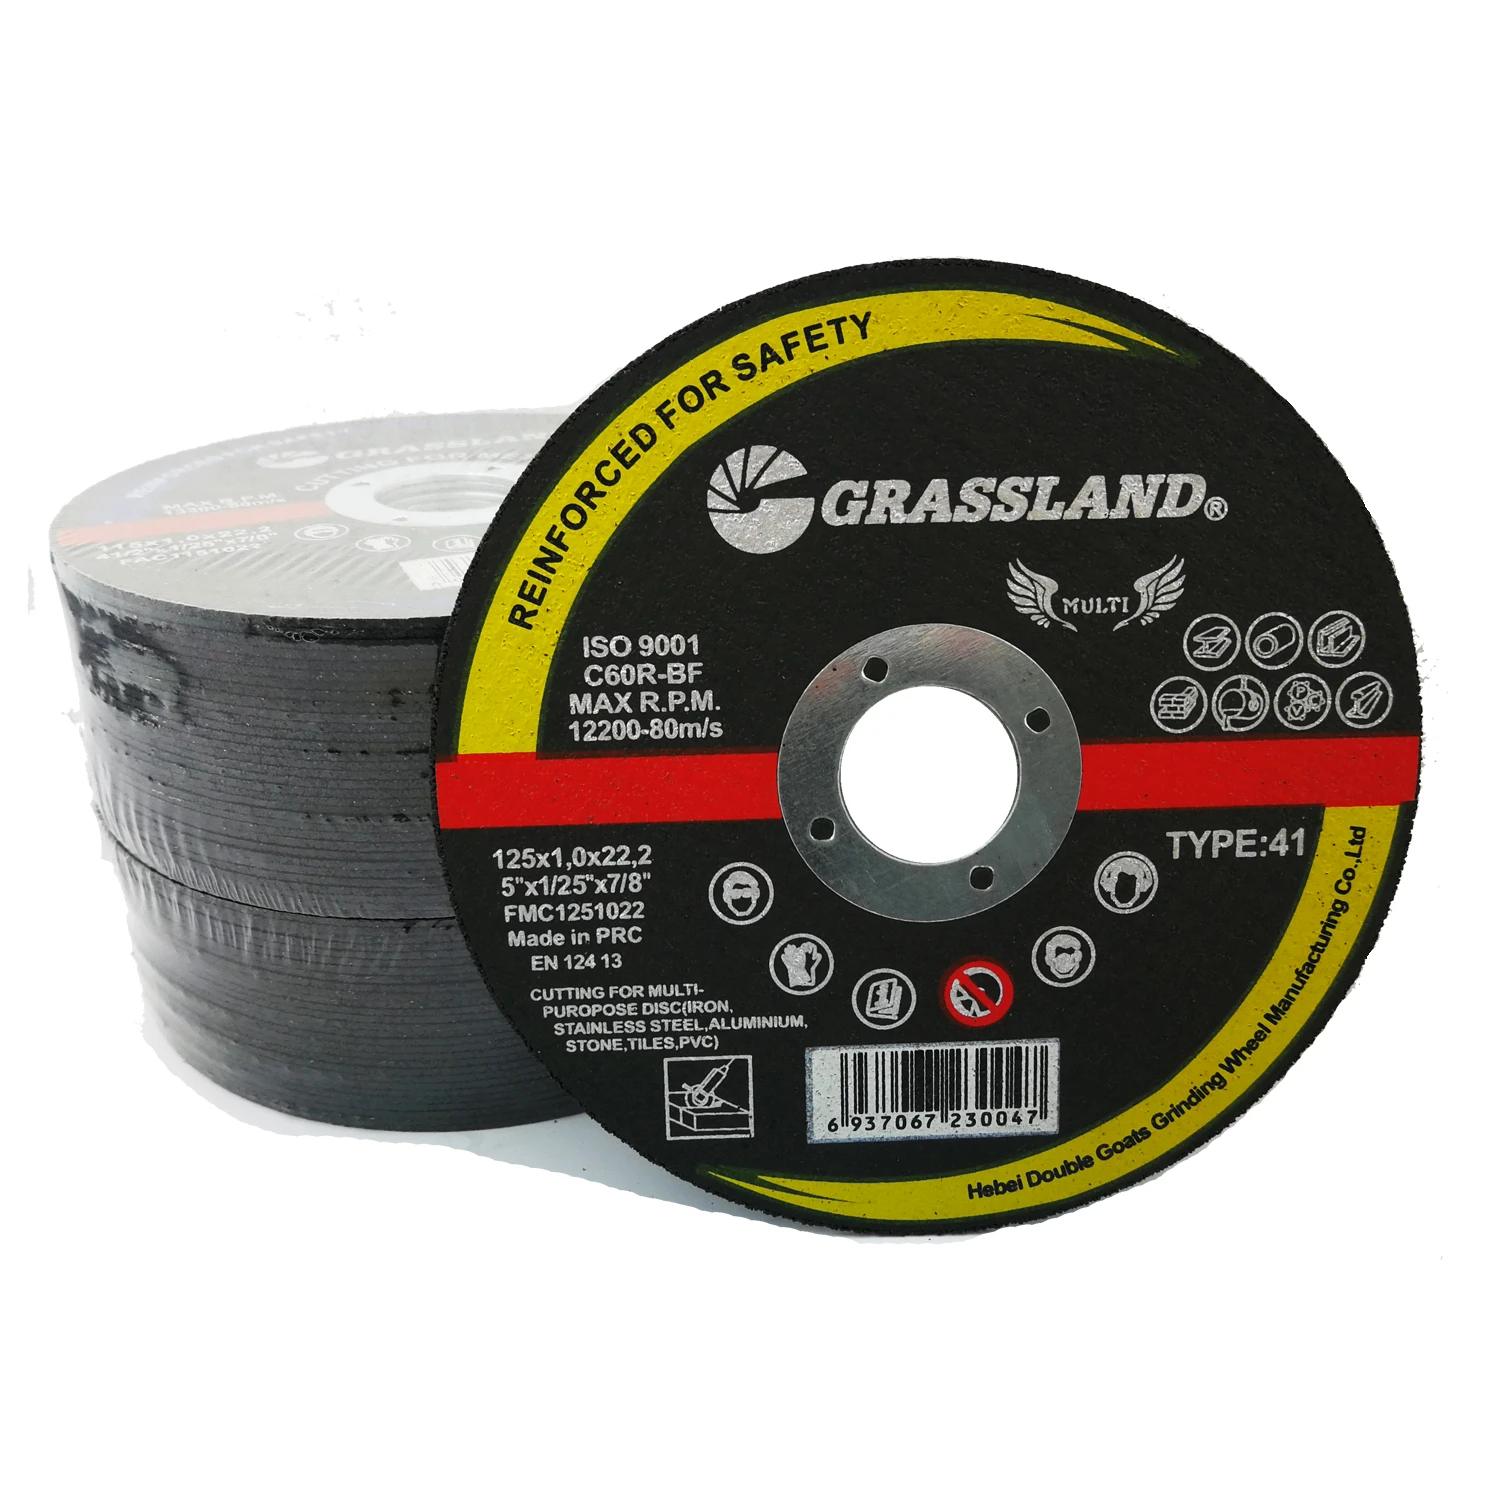
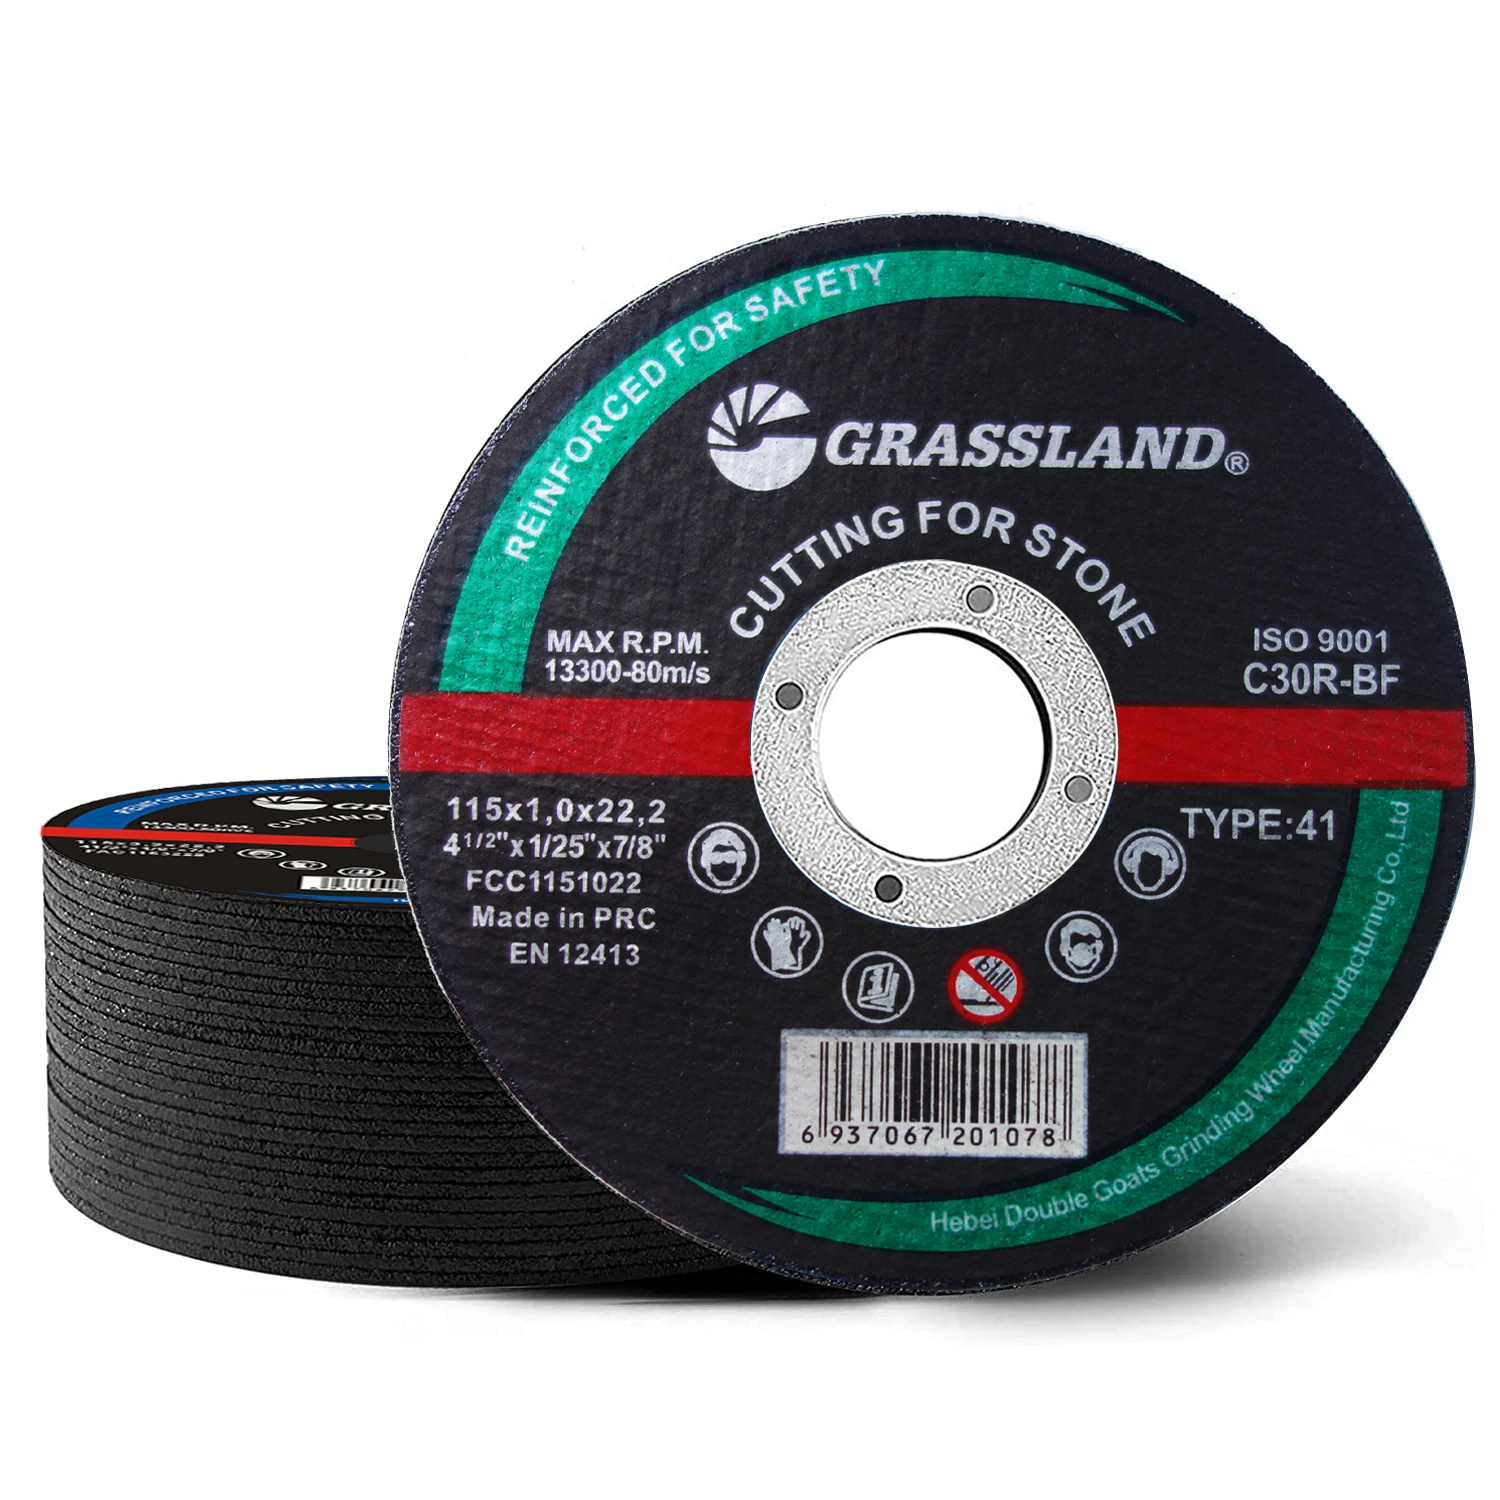
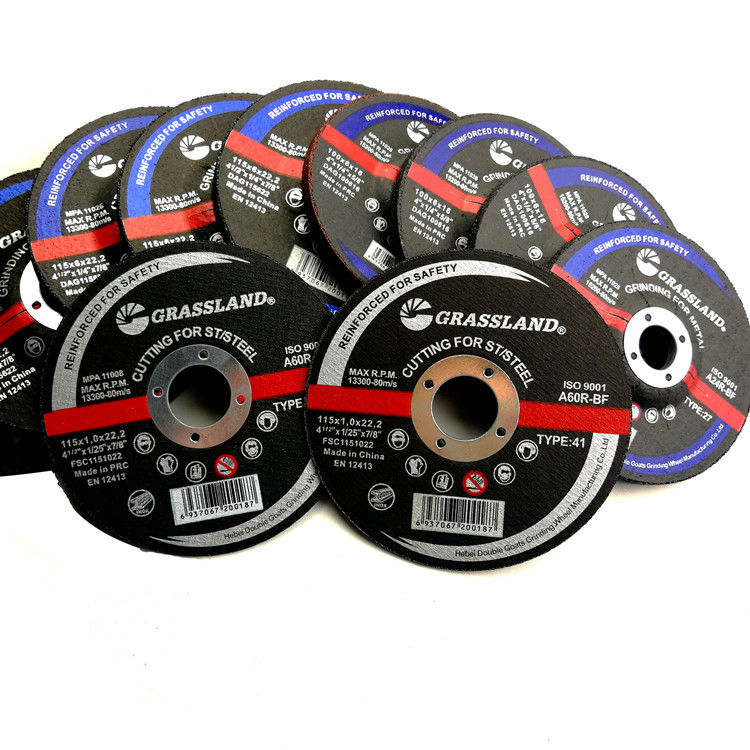
Before installing a new cutting disc, inspect it for any damage. Look for cracks, warping, or any signs of wear. A damaged disc can be dangerous and result in breakage during use. Ensure that the new disc is the correct size and type for your power tool.
Step 6 Mount the New Cutting Disc
Place the new cutting disc onto the mounting plate of the power tool. Make sure the disc is oriented correctly, as indicated by the directional arrows usually marked on the disc. Align the holes in the disc with the mounting holes on the tool.
Once the disc is in place, replace the nut or fastening mechanism and tighten it securely. This might require some force, but be careful not to overtighten, as this can strip the threads or damage the disc.
Step 7 Double-Check Everything
After installing the new disc, double-check to ensure everything is securely fastened. Give the disc a manual spin (with the tool still unplugged) to ensure it is aligned properly and does not wobble. Any wobbling can indicate a problem that should be addressed before proceeding.
Step 8 Power On and Test
With everything securely in place, reconnect the power tool to its power source. Before starting work on your project, turn on the tool and let it run for a few seconds at low speed. This will help you ensure that the disc is properly aligned and functioning without any issues.
If everything looks good, you are ready to start working! Remember to keep wearing your safety gear while operating the tool and to follow all safety guidelines related to the specific materials and cutting techniques you will be using.
Conclusion
Installing a cutting disc may seem like a straightforward task, but it requires careful attention to detail and safety precautions. By following these steps, you can ensure that your cutting tool will function efficiently and safely, allowing you to complete your metalworking or construction projects with confidence. Always prioritize safety and quality, and enjoy your work!
Post time:Oct - 02 - 2024


